


This paper butterfly takes 16 steps and starts from 4 construction paper circles: two 14 cm circles and two 12 cm circles. The layered circles are folded accordion style, pinched together with a rubber band to form the wings, and finished with a rolled paper body, 2 curled antennae and a 20 cm paper stick.
What do you need to make a paper butterfly?
You need construction paper in 3 colors, 2 markers, scissors, a glue stick, 1 rubber band and a tool for drawing circles.
- Construction paper in 2 complementary colors for the wings
- 1 sheet in a contrasting color for the body and antennae
- 1 black marker and 1 pink marker
- Scissors and a glue stick
- 1 rubber band
- A protractor or compass with a small pencil, to draw the circles
- A skinny straw to roll the stick around
How do the folded wings work?
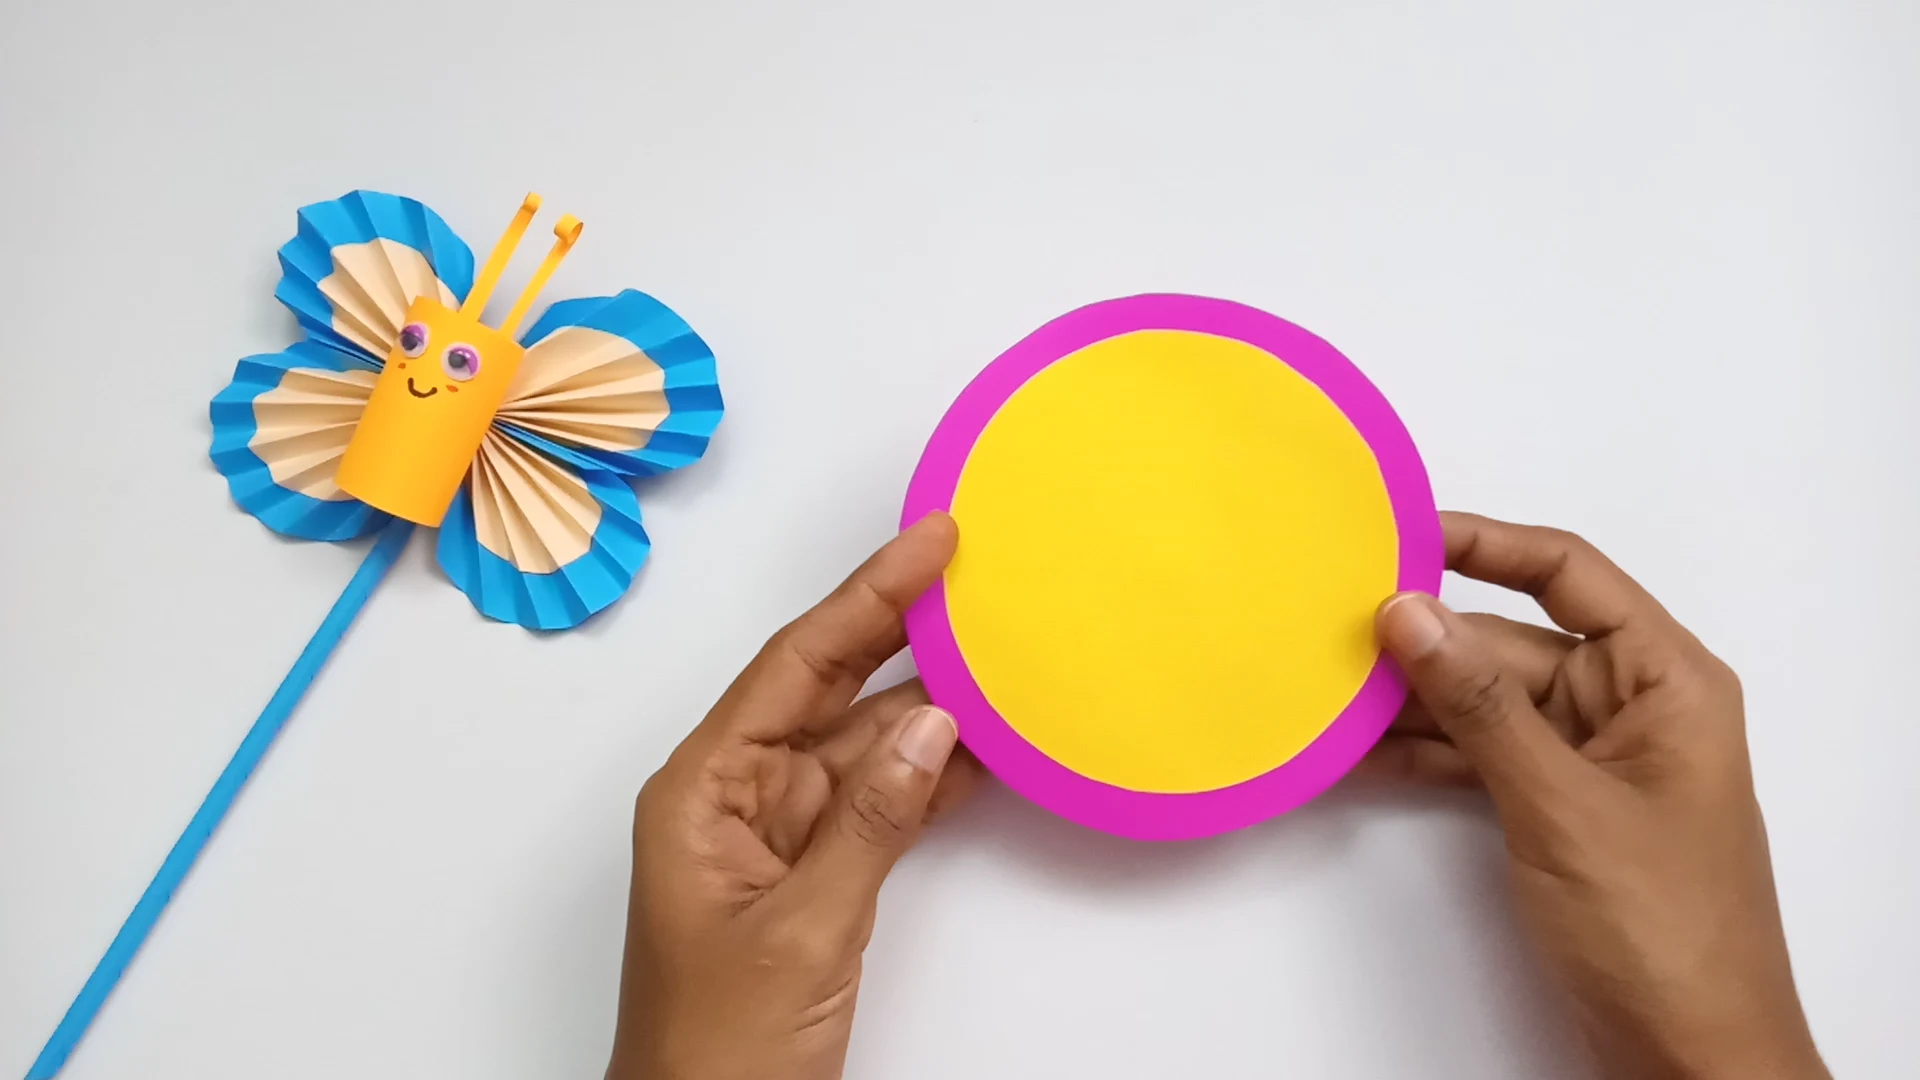
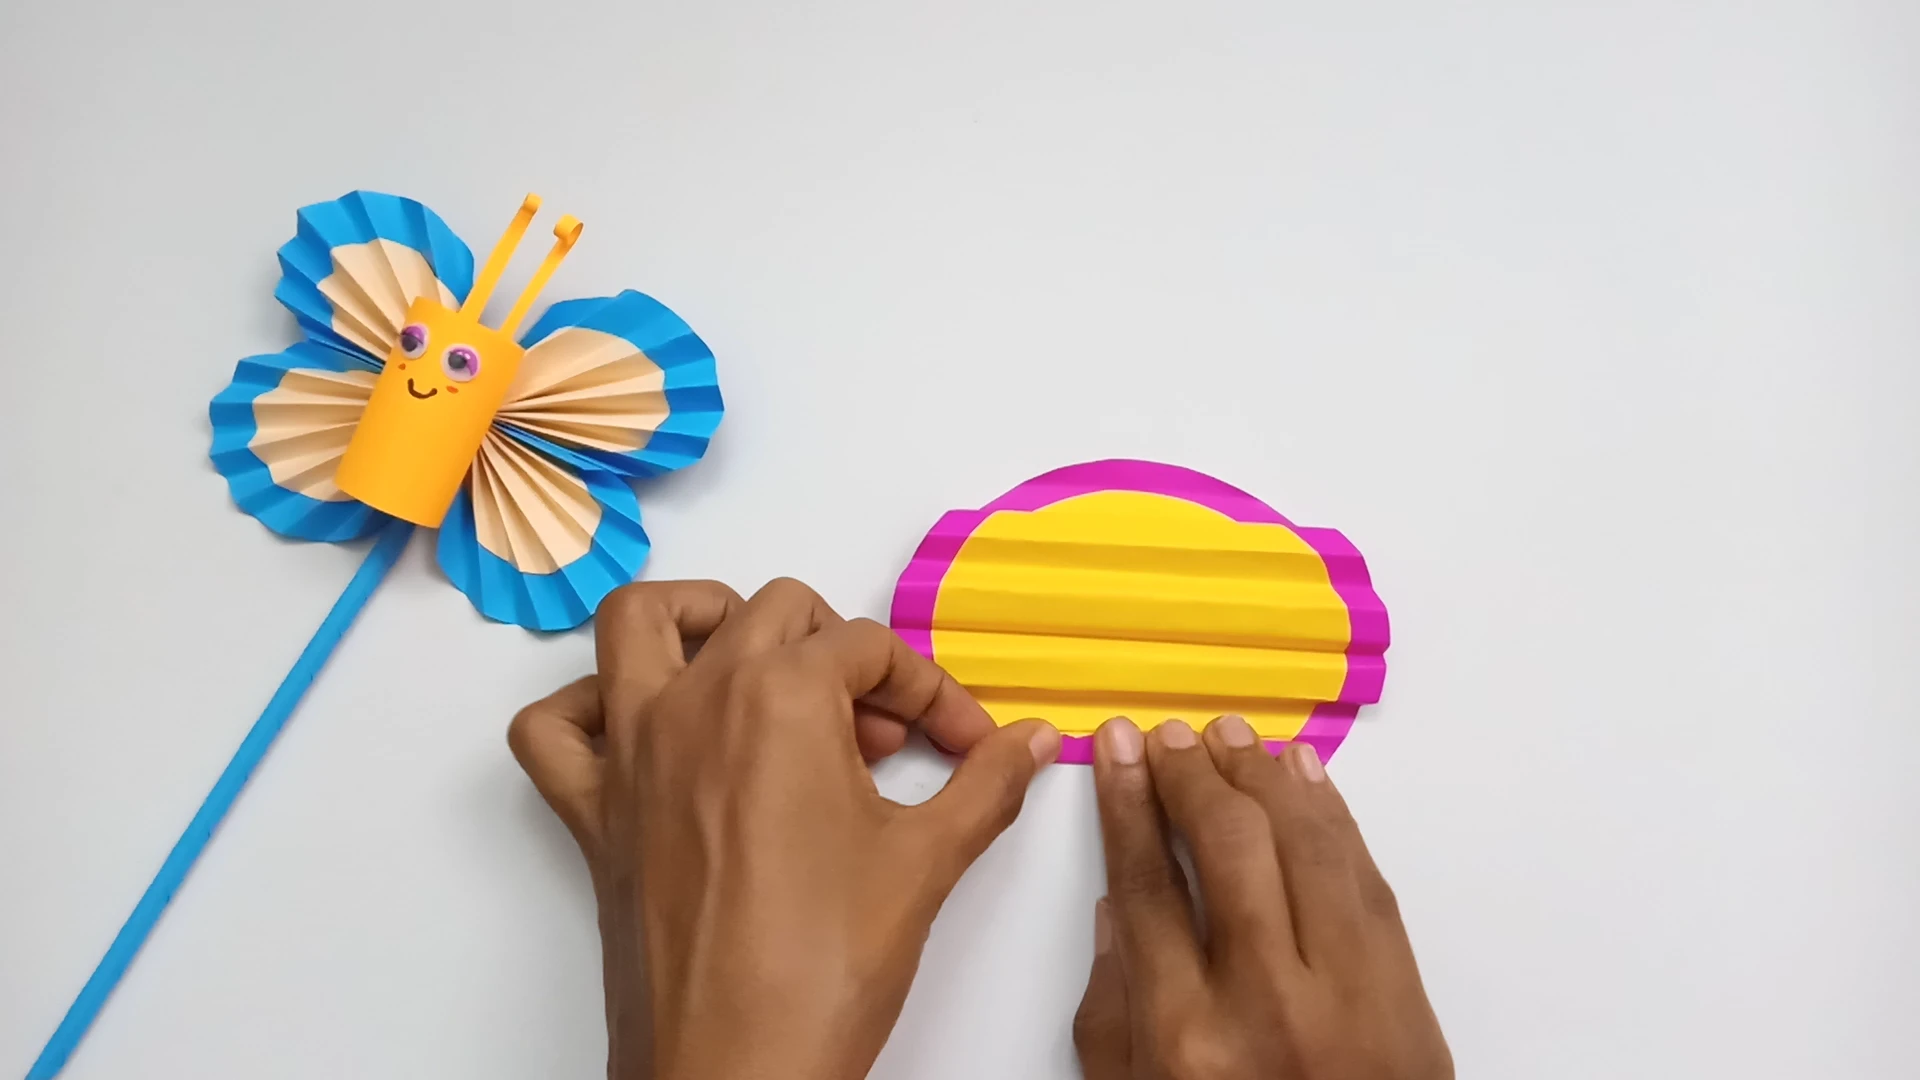
The wings come from 2 layered sheets, each made from a 12 cm circle glued onto a 14 cm circle. Both sheets are folded accordion style in step 4, held together in the middle with a rubber band in step 6, and opened out on each side of the band in step 7. Fluffing the folds in step 8 evens out the wings.
Now, let’s follow this step-by-step butterfly craft guide and have creative fun!
How To Craft A Butterfly


We will show you, step by step, how to craft a butterfly that is easy and does not take too much time or money. It is a fun project for the entire family.
Materials
- 2 Pieces construction paper , Complementary colors of your choice
- 1 Marker, Black
- 1 Pair Scissors
- 1 Marker, Pink
- 1 Stick Glue
- 1 Rubber Band
- 1 Protractor With A Small Pencil
Instructions
Use your protractor to draw a circle that is 14 centimeters in diameter on the darkest color of construction paper you chose. Then cut it out with your scissors.

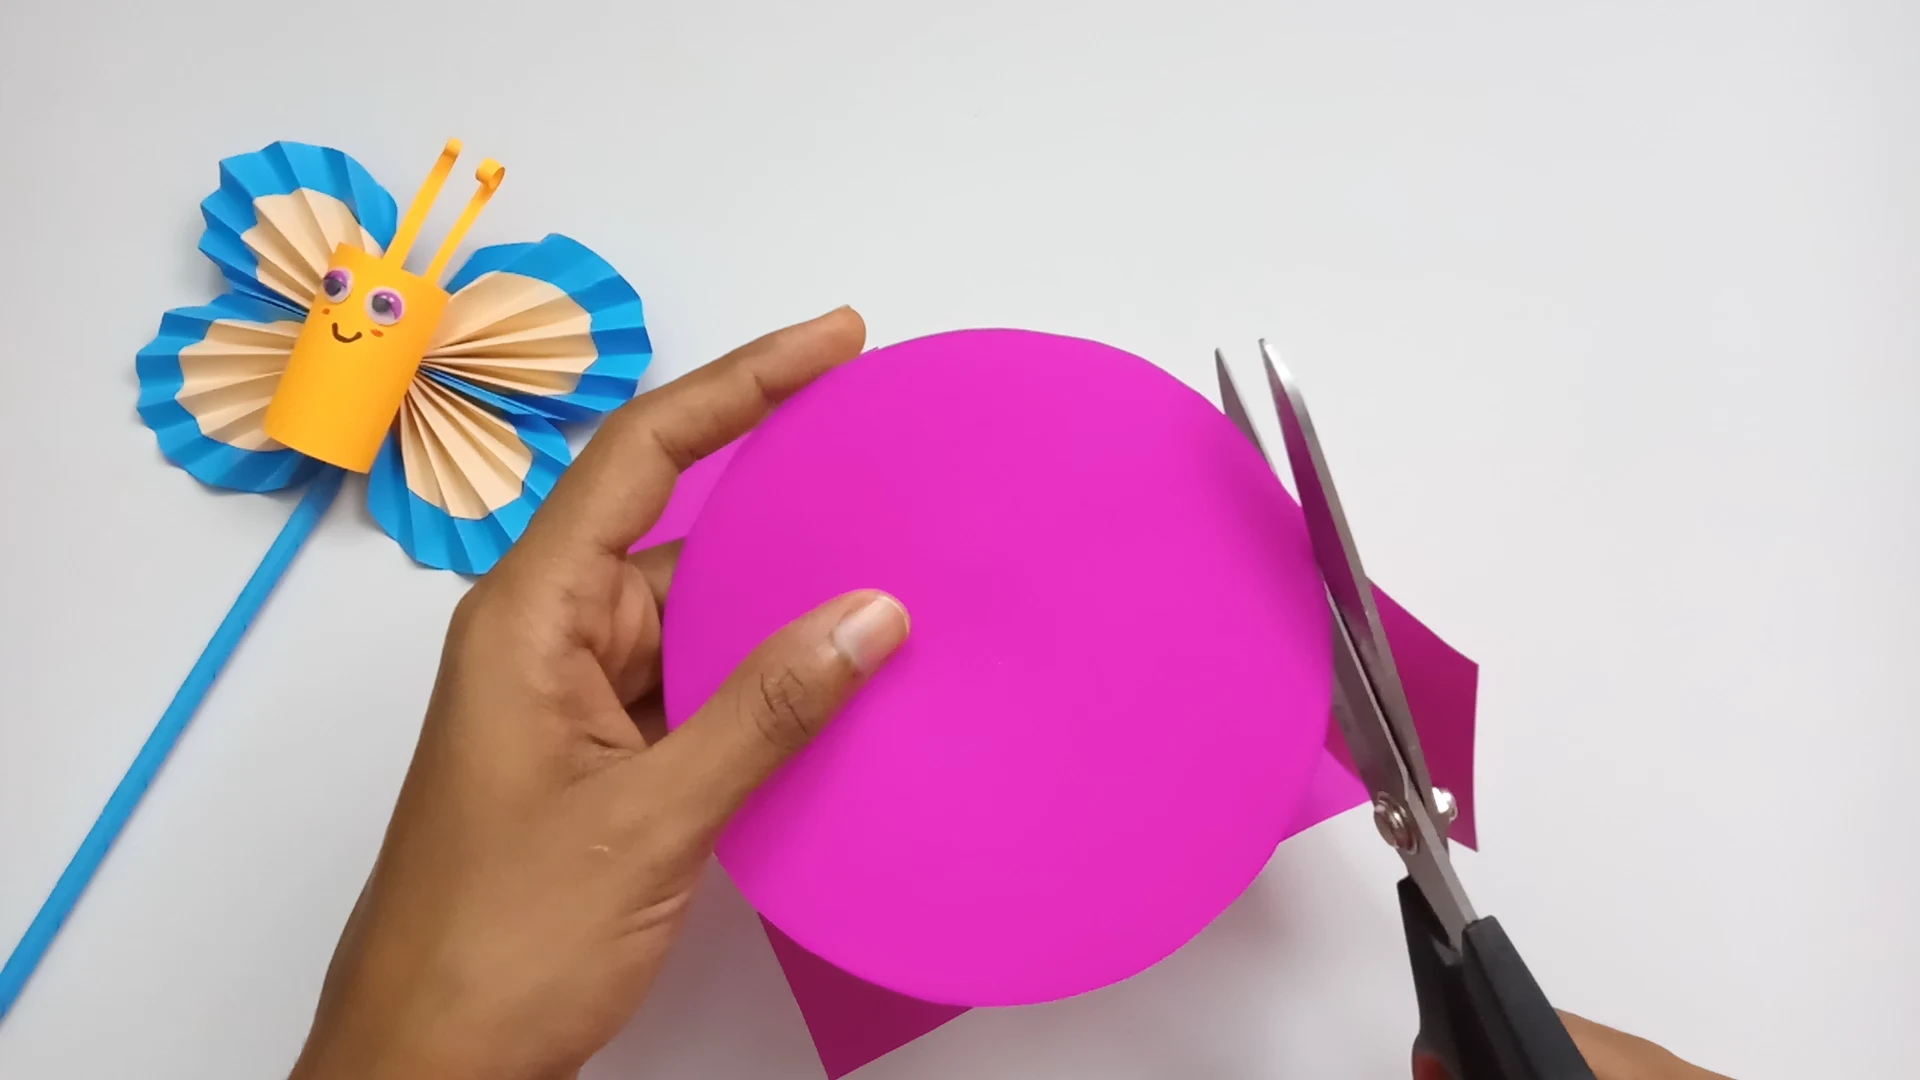
Do step one again with your other piece of construction paper but set the protractor at 12 centimeters.

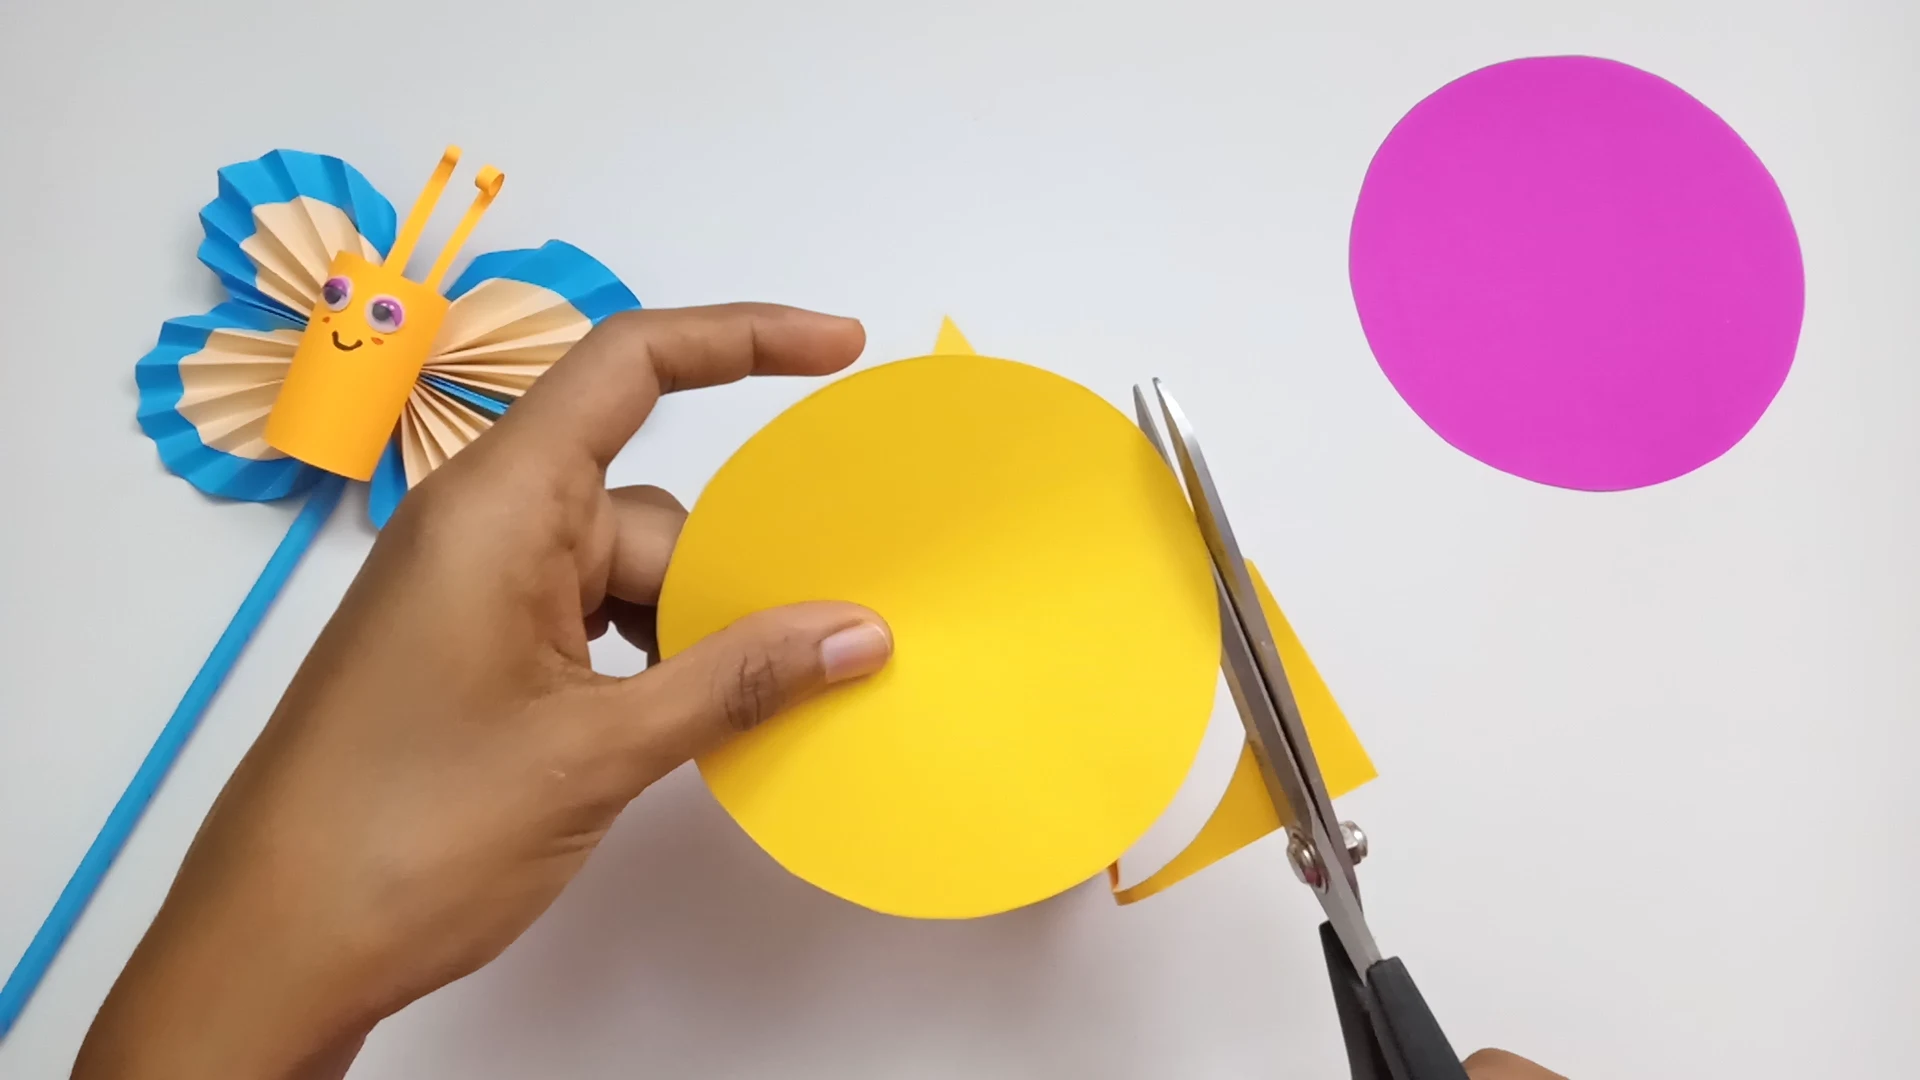
Glue the smaller circle of paper onto the larger circle to form one sheet. Repeat steps one through three with a second set of sheets of construction paper of the same colors.

Fold your sheet into an accordion-style circle. Do this by folding the circle in half then folding the top flap downward. Fold that part in half again then flip the paper over and do this again.

Repeat step four with your second set of circles.

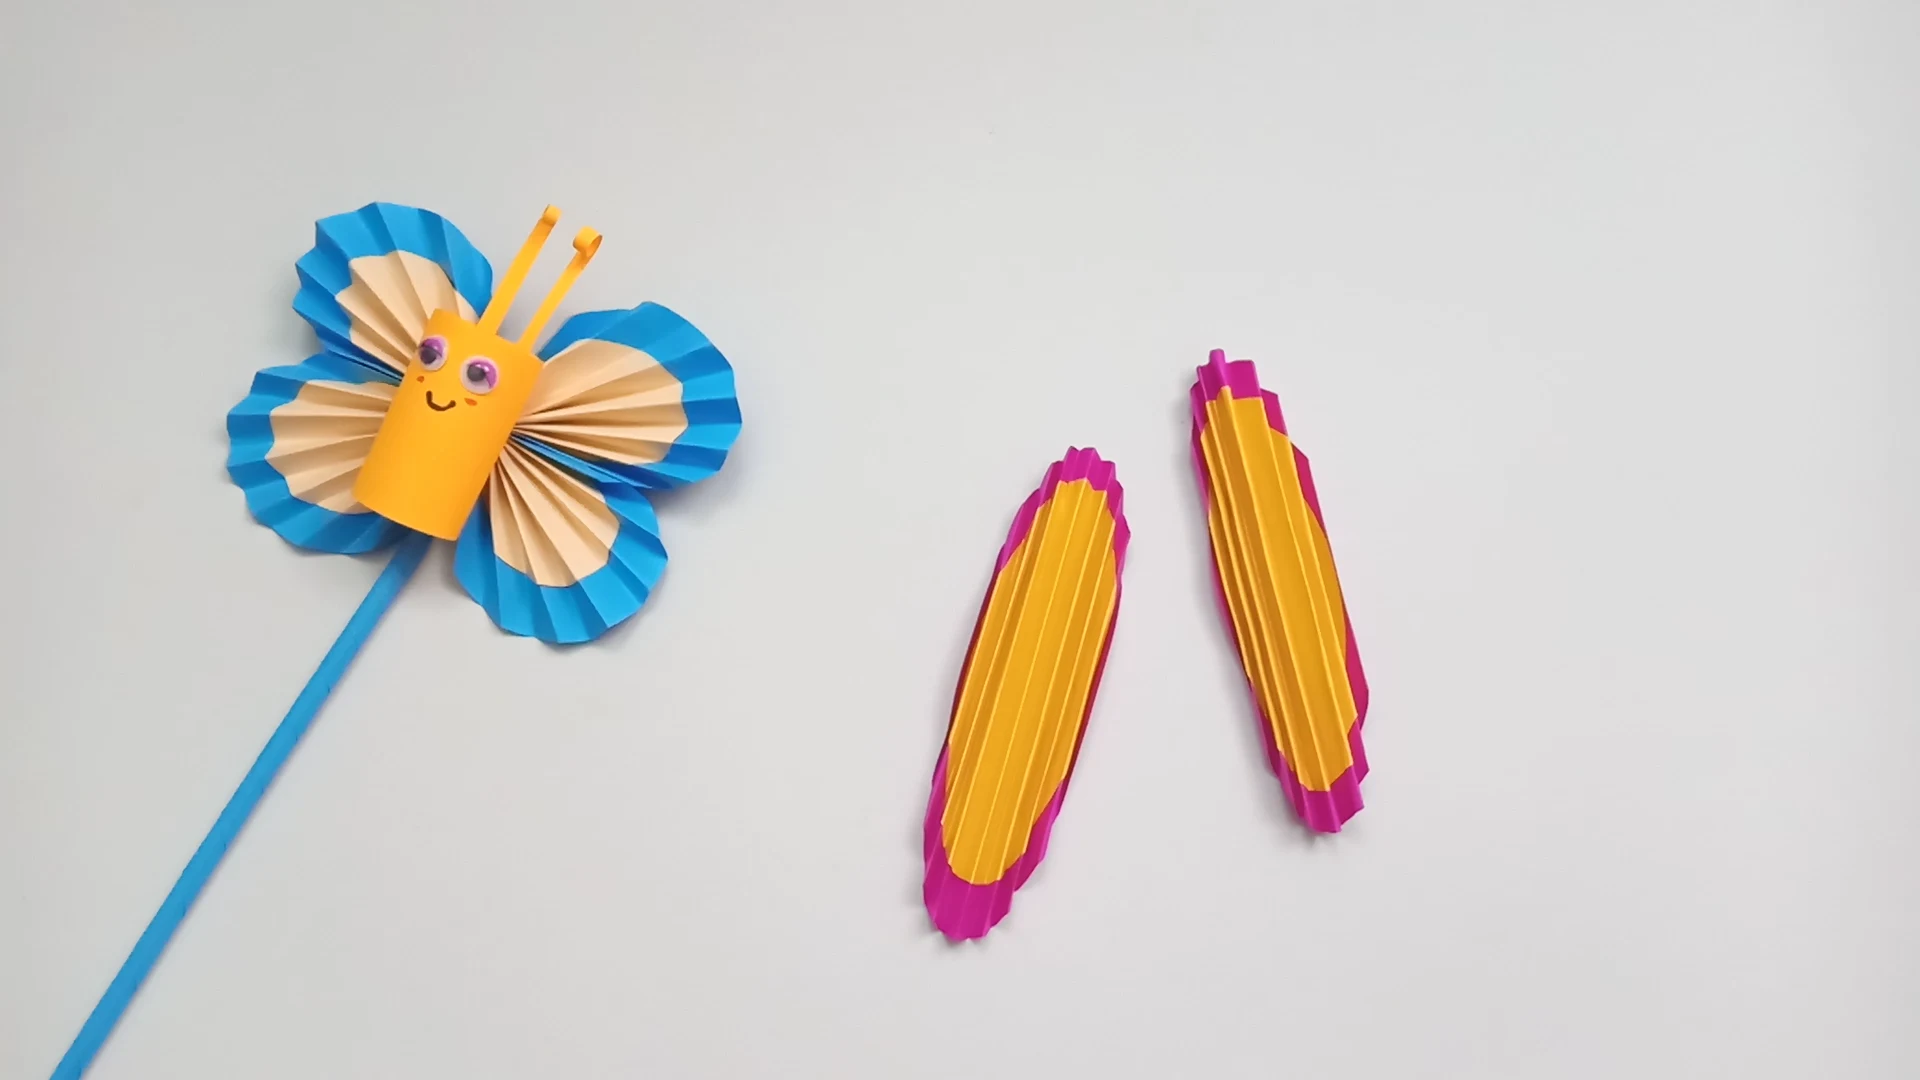
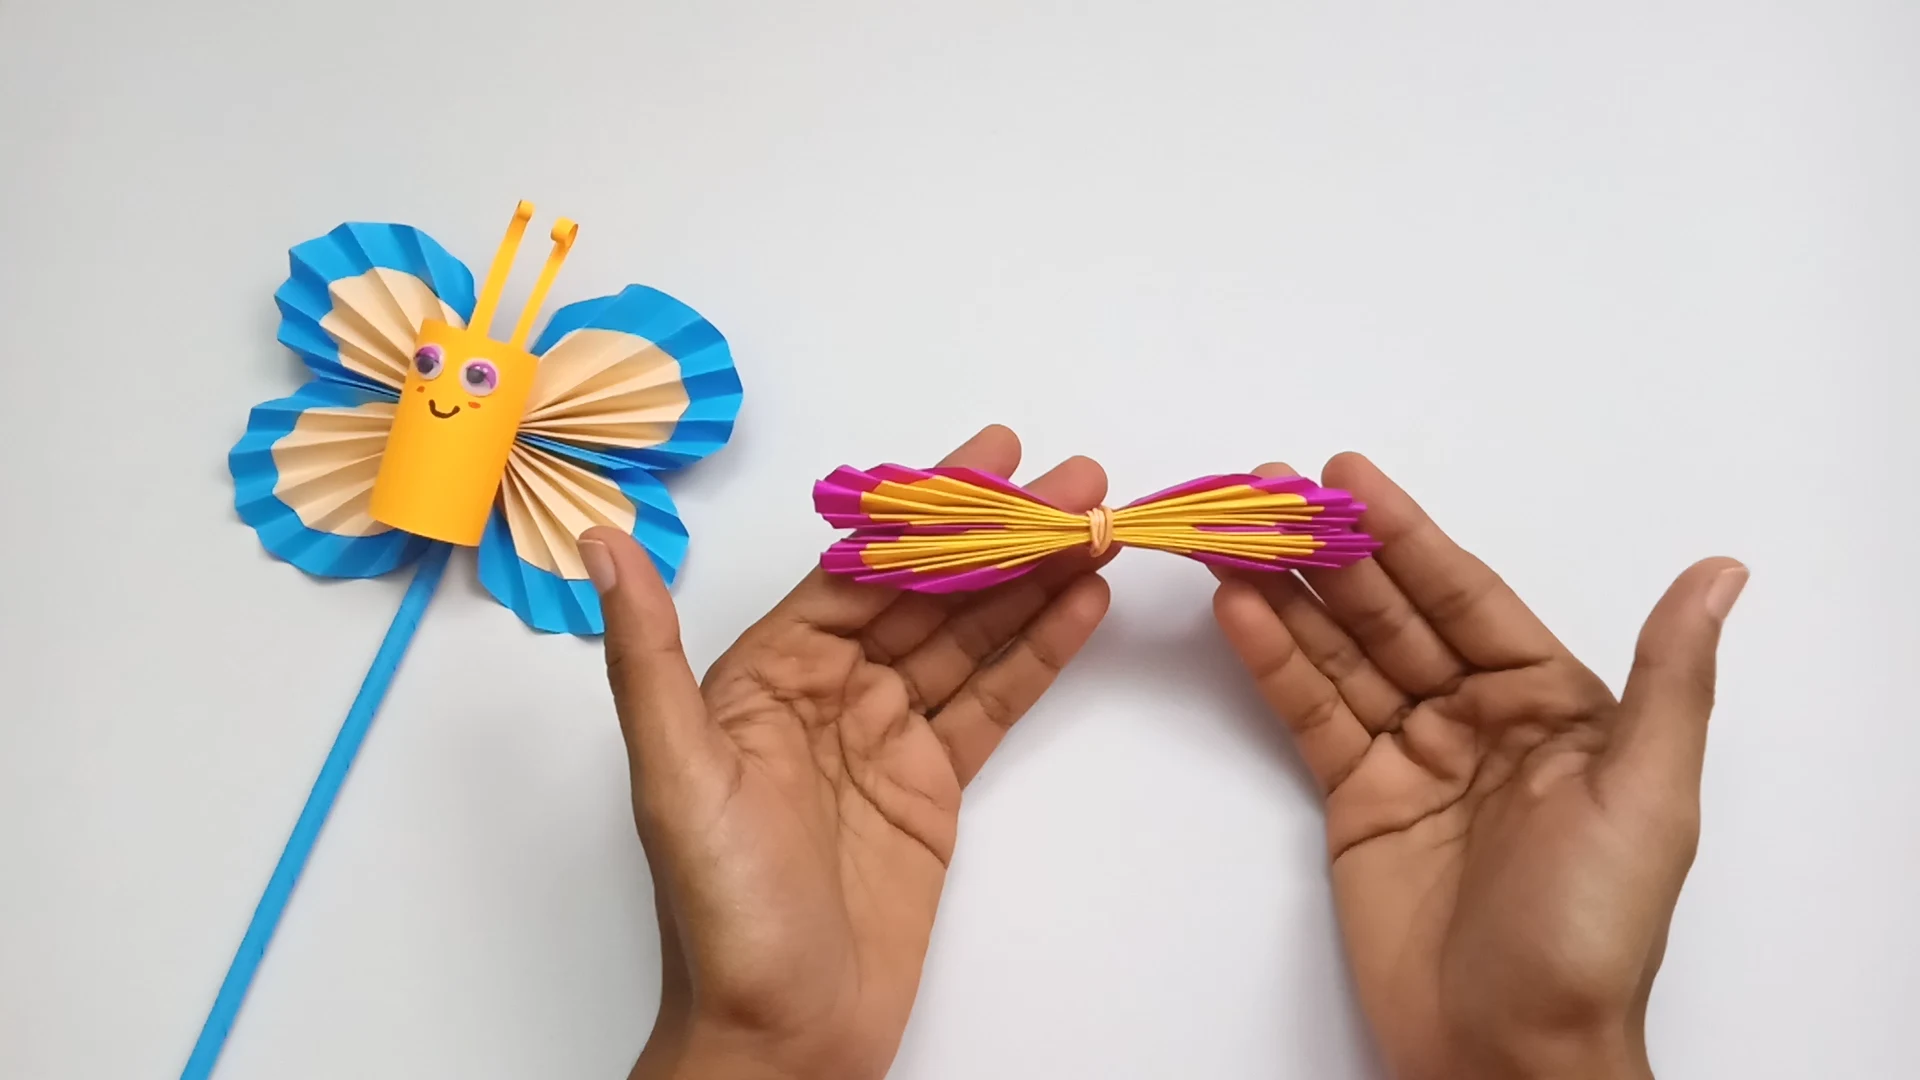
Put the two sheets of accordion-style circles together and fasten them with your rubber band as seen in the photo above.

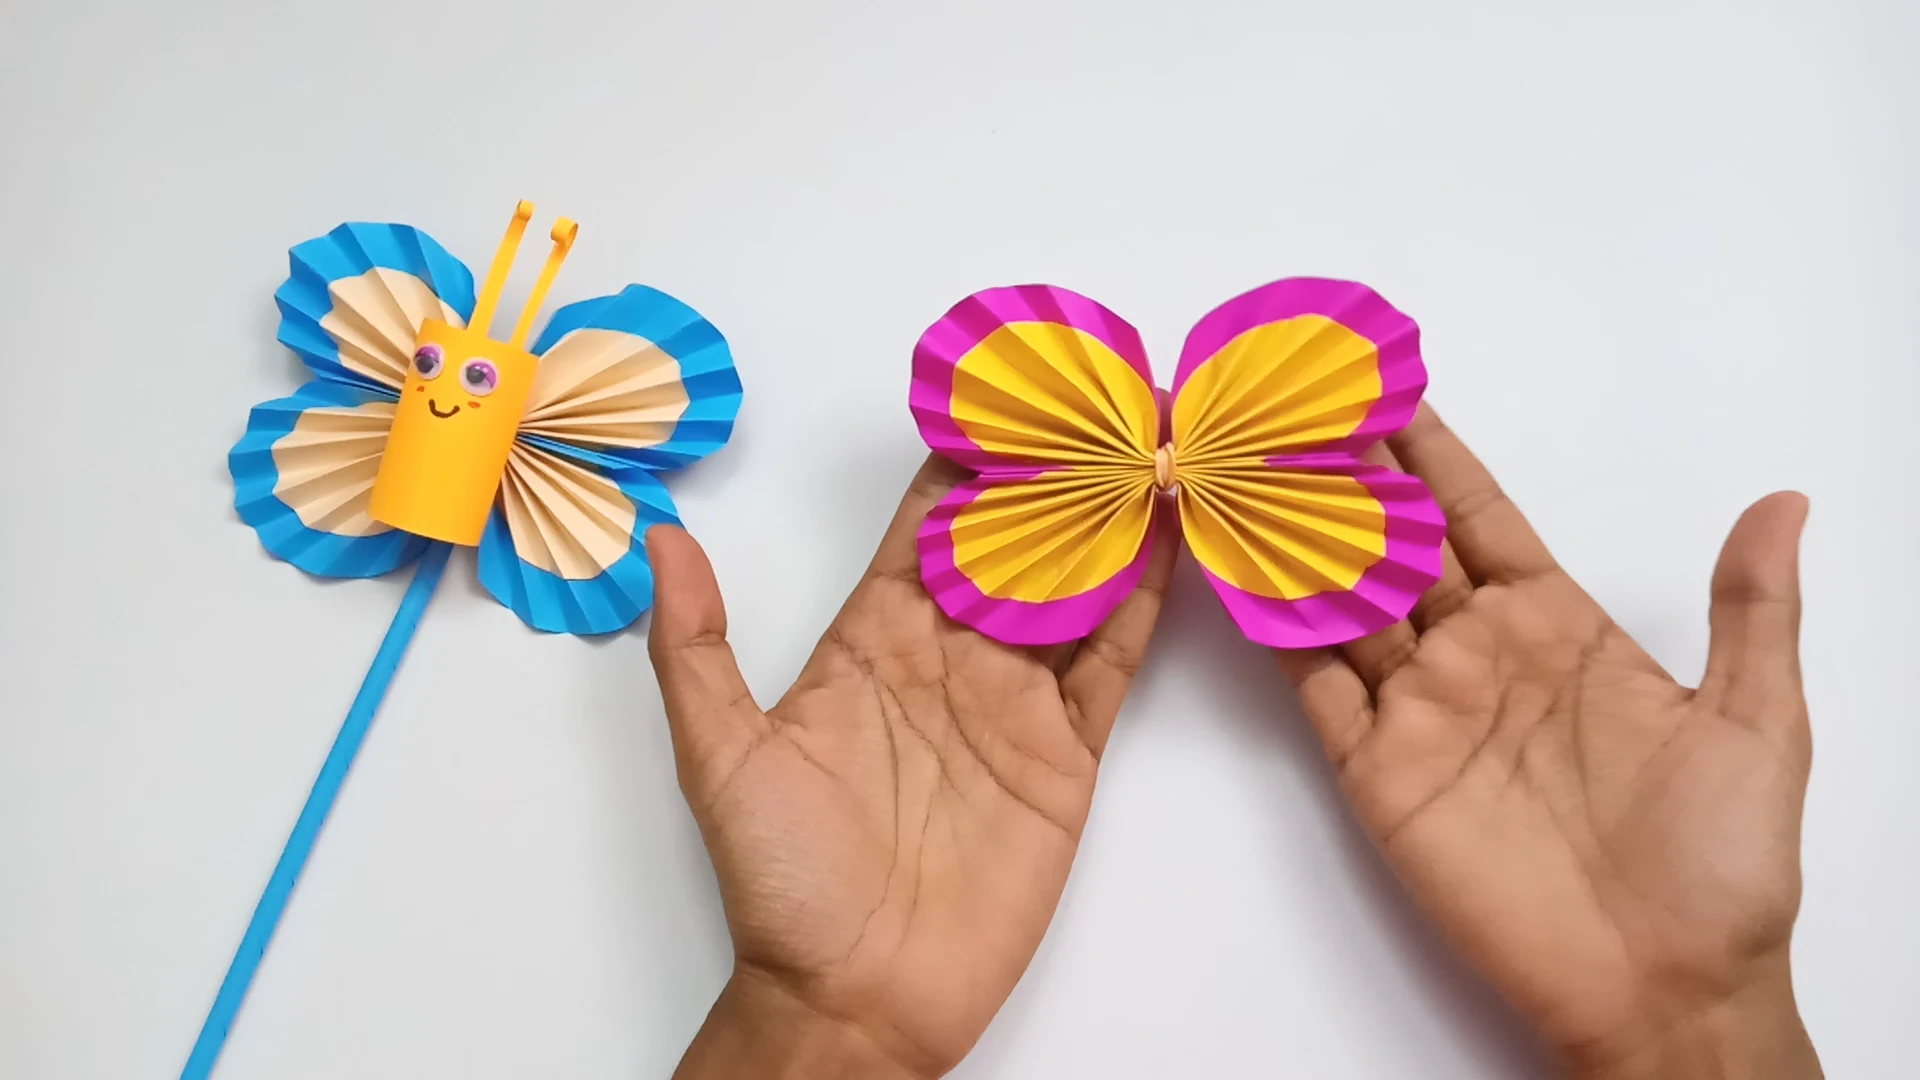
Open the paper on each side of the rubber band to make your butterflies wings as seen above.

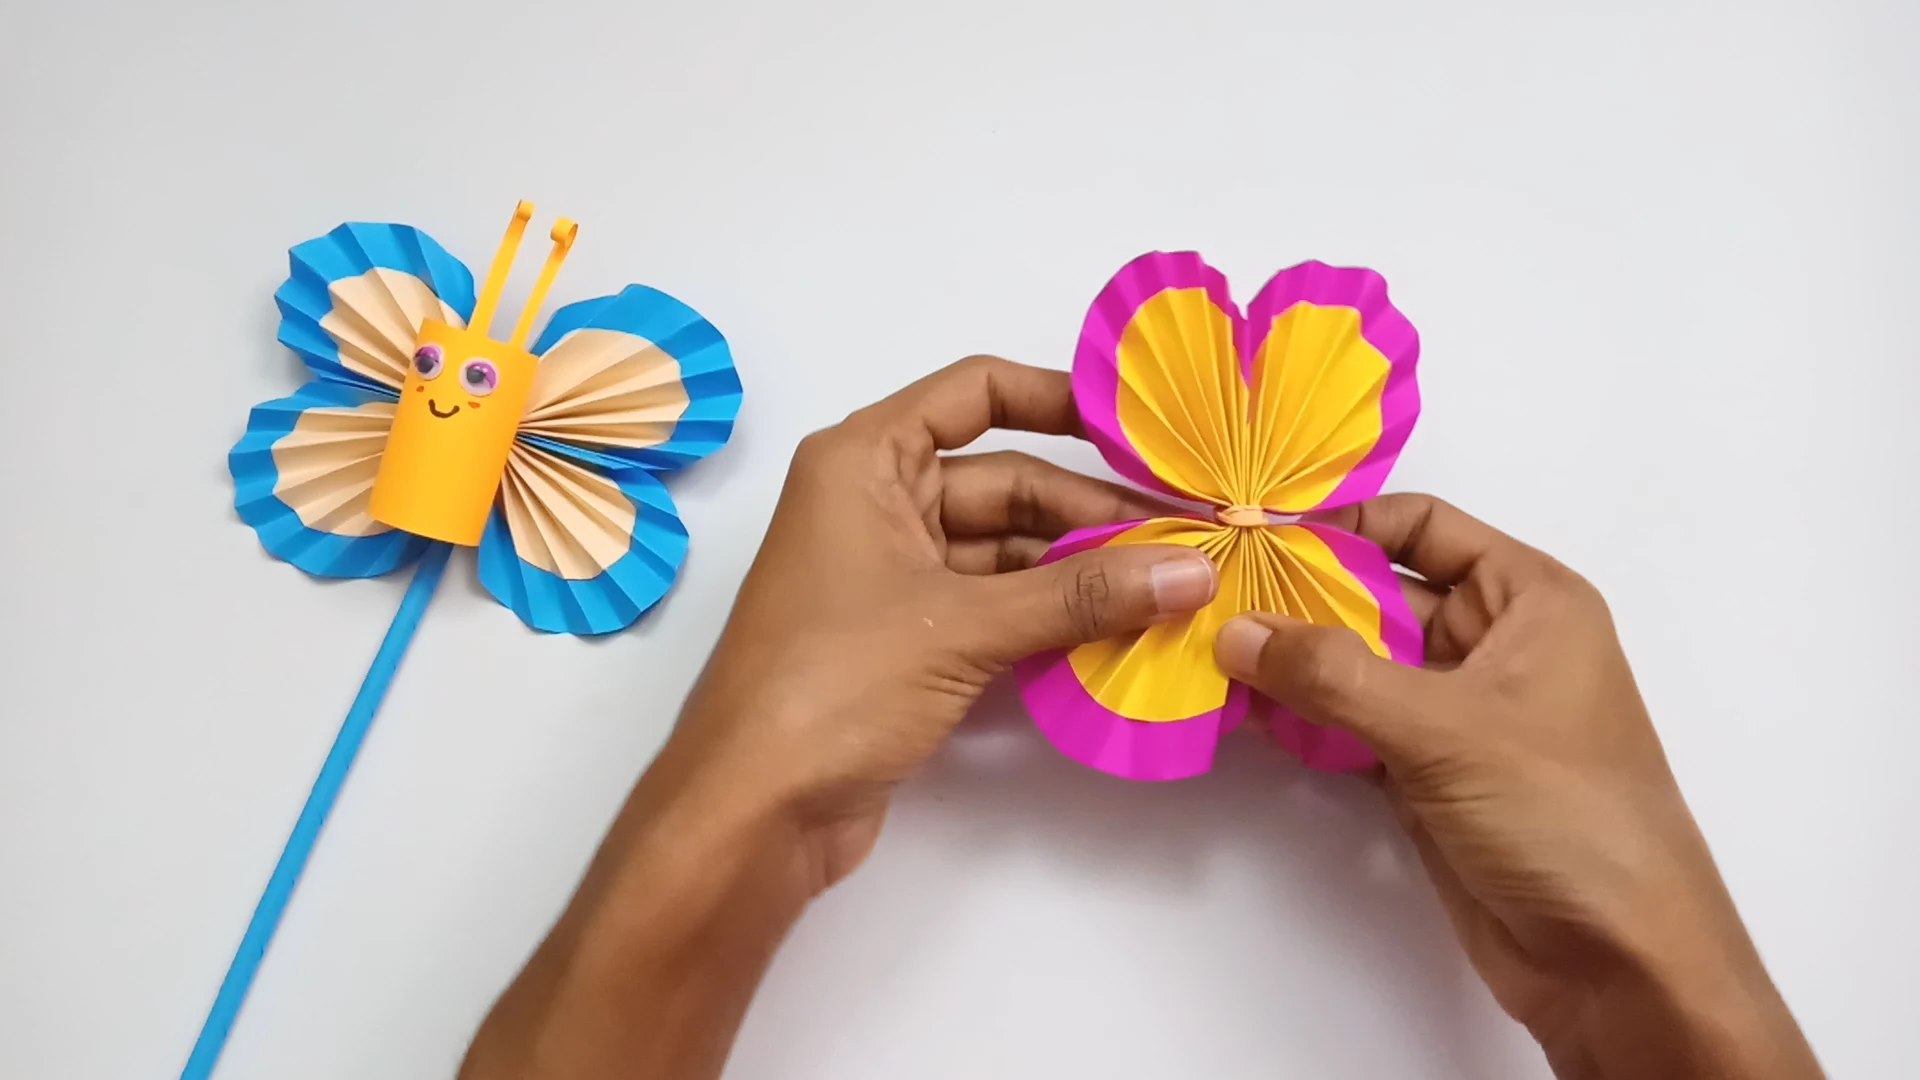
Your butterfly is now beginning to look like one! Fluff the wings until they look even.

Cut another sheet of construction paper in a contrasting yet complementary color into a rectangle that is four centimeters by six centimeters. Fold it into a circle like a tube and glue the two ends together to secure the body of your butterfly.

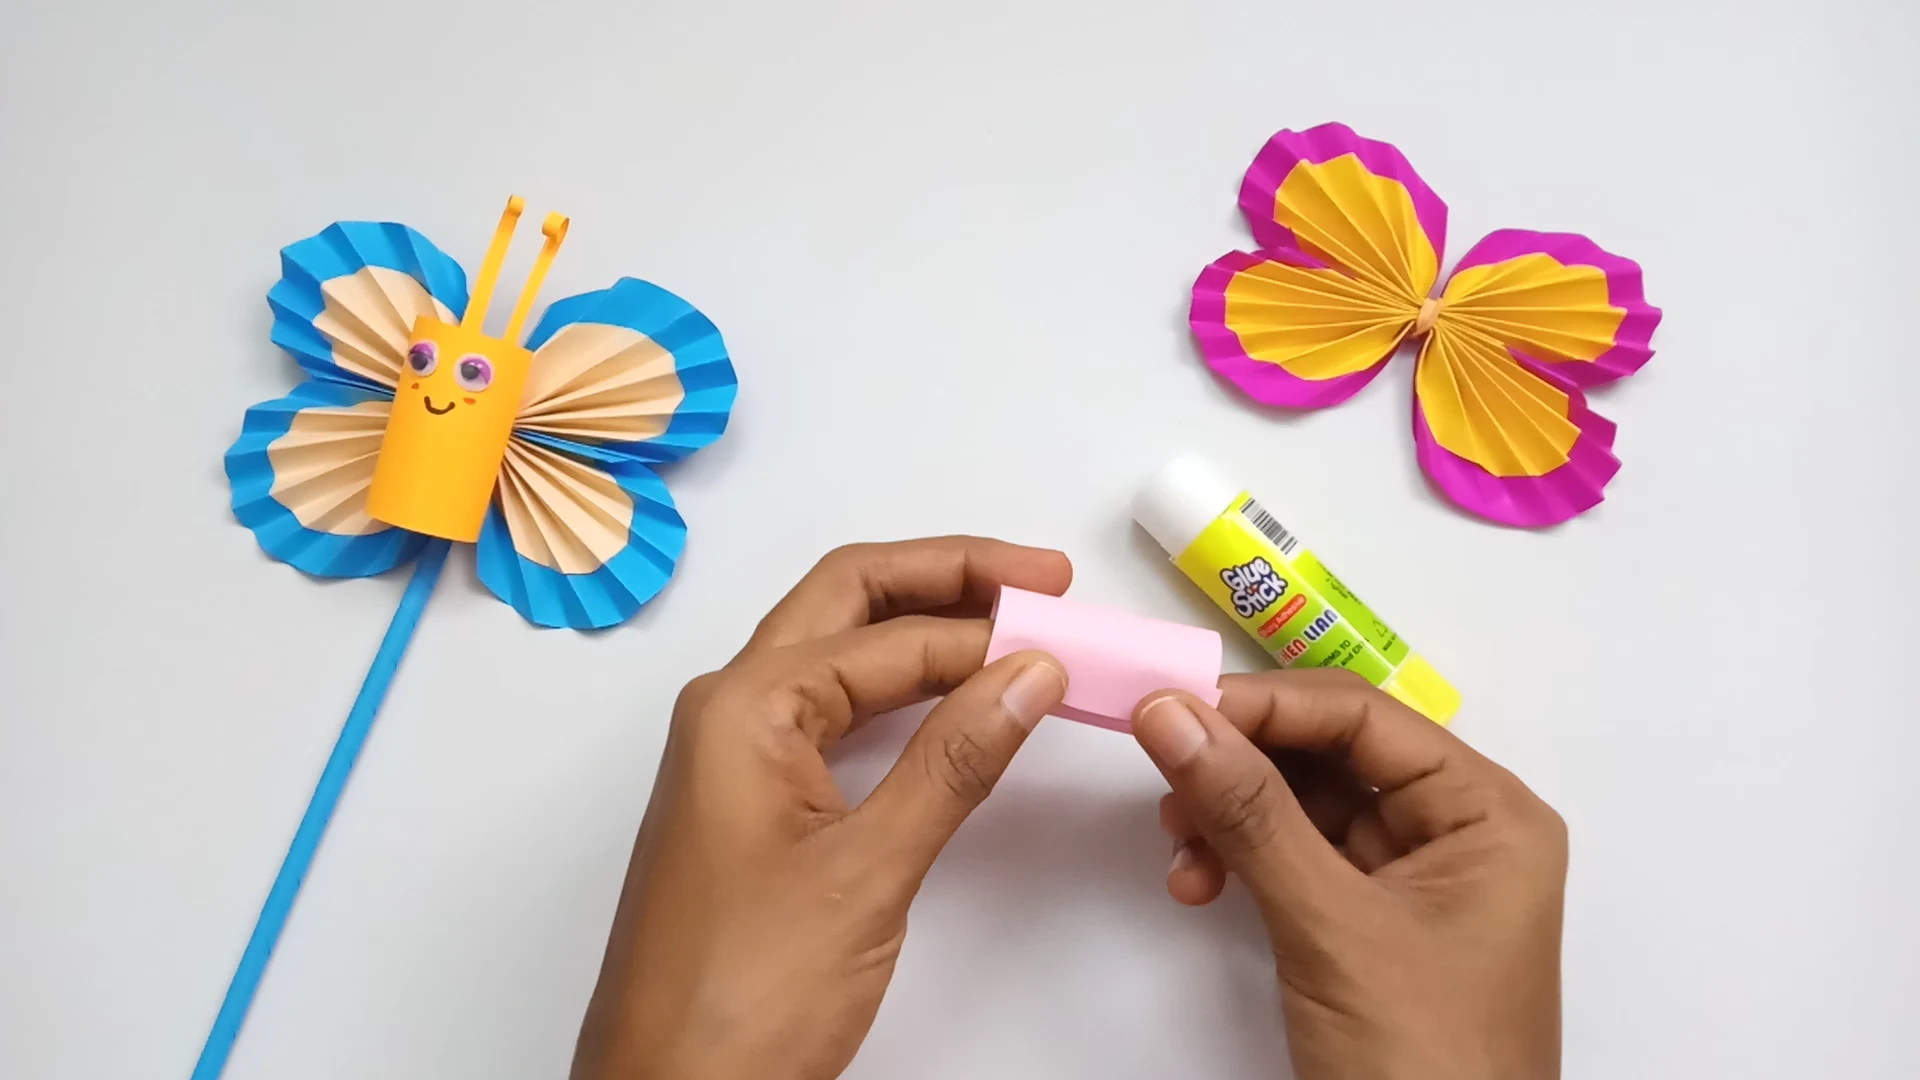
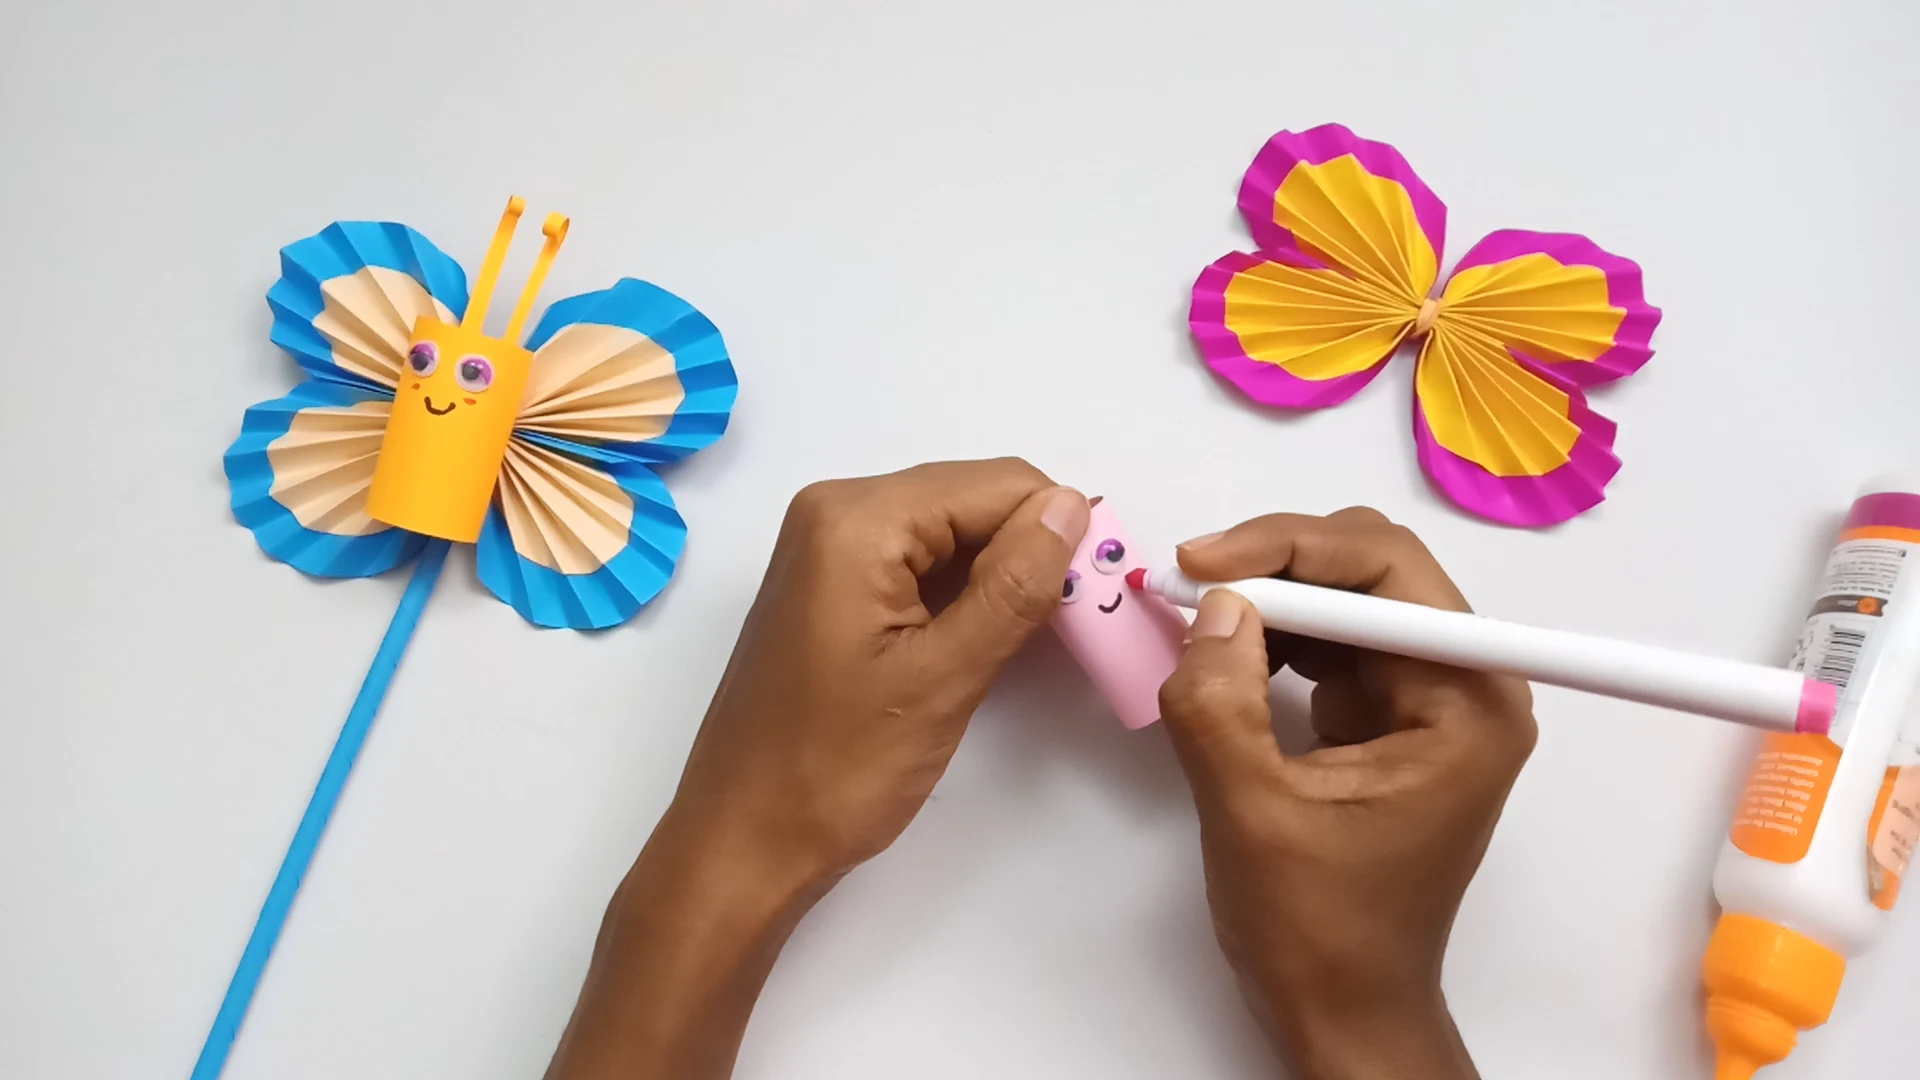
Draw a smiley face on the front part of your tube of paper. You can also use little fake eyeballs and other materials of your choice to create your butterfly’s facial features.

Use the same sheet of construction paper that you used for your butterfly’s body to cut two very thin strips of paper to create the antennas for your butterfly.

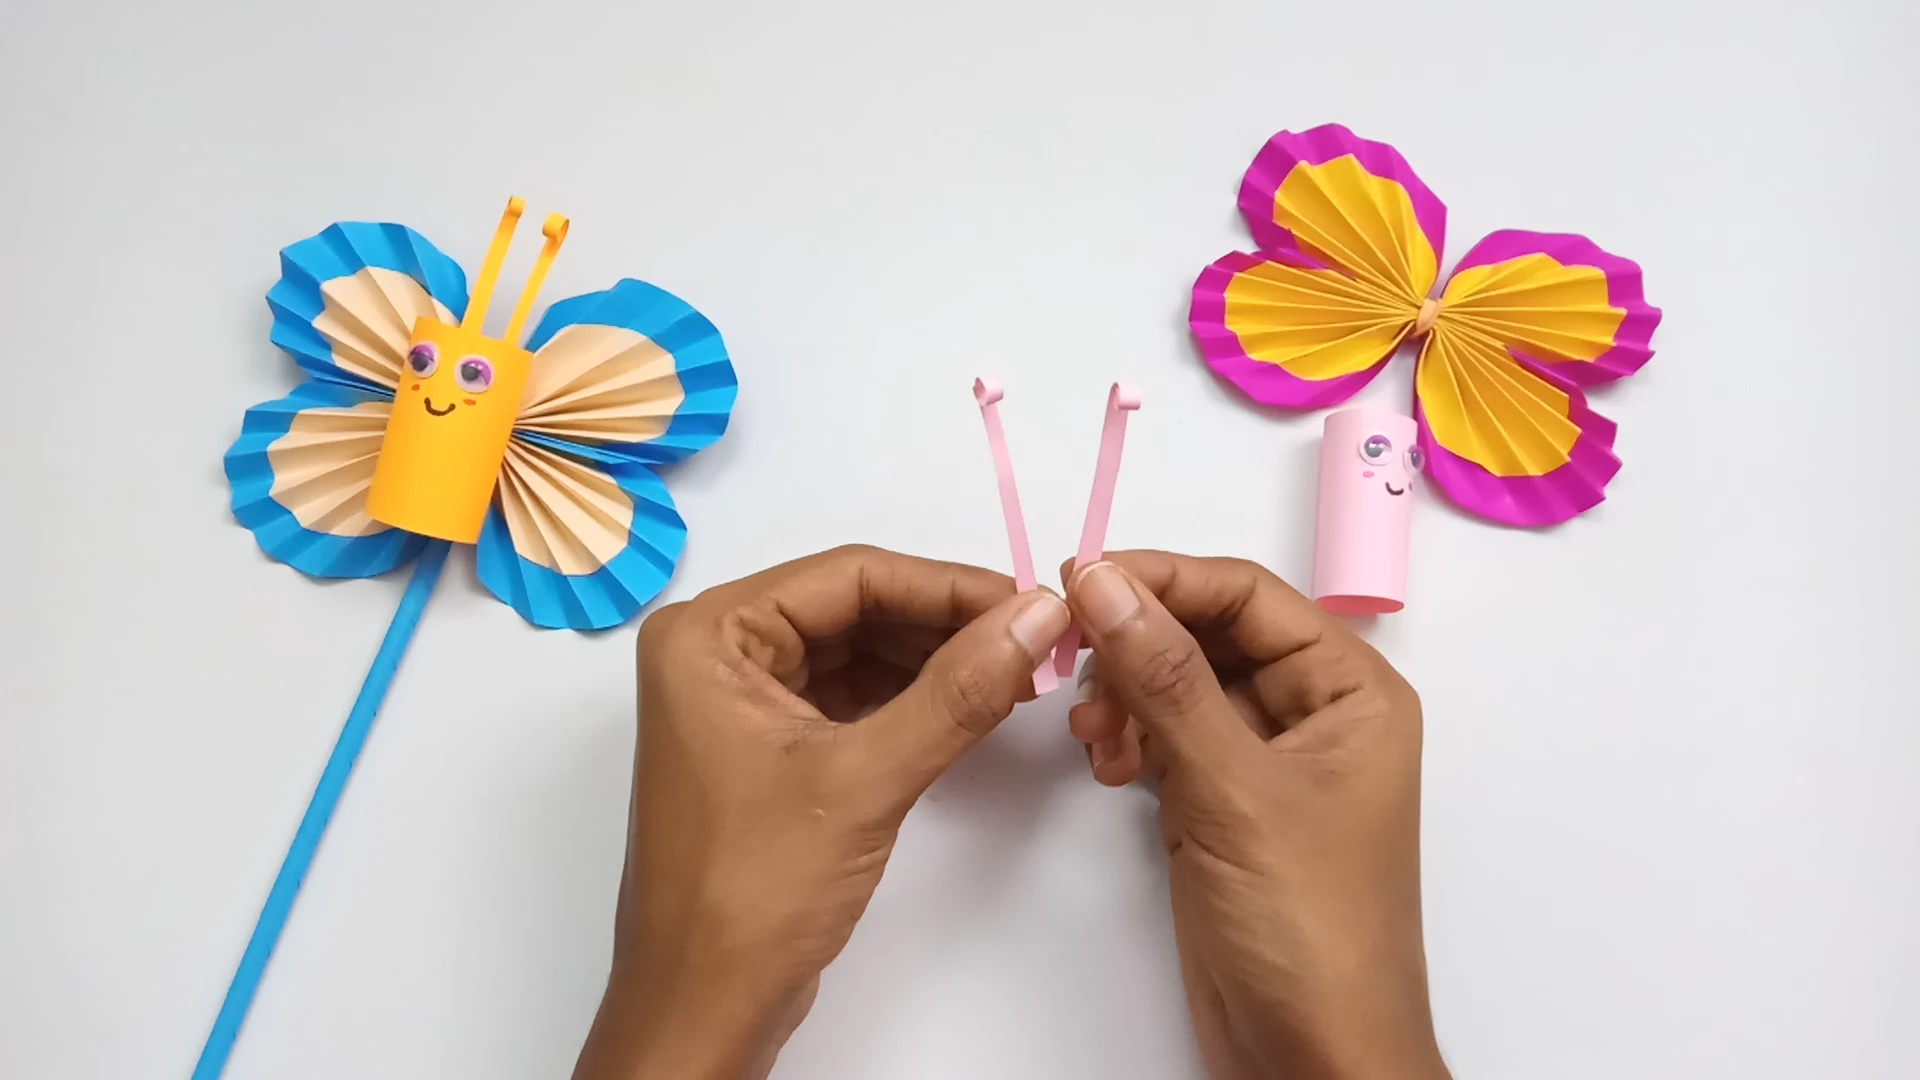
Roll down one end of each of the strips to make them look like an antenna then glue them onto the top of your butterflies face and body.

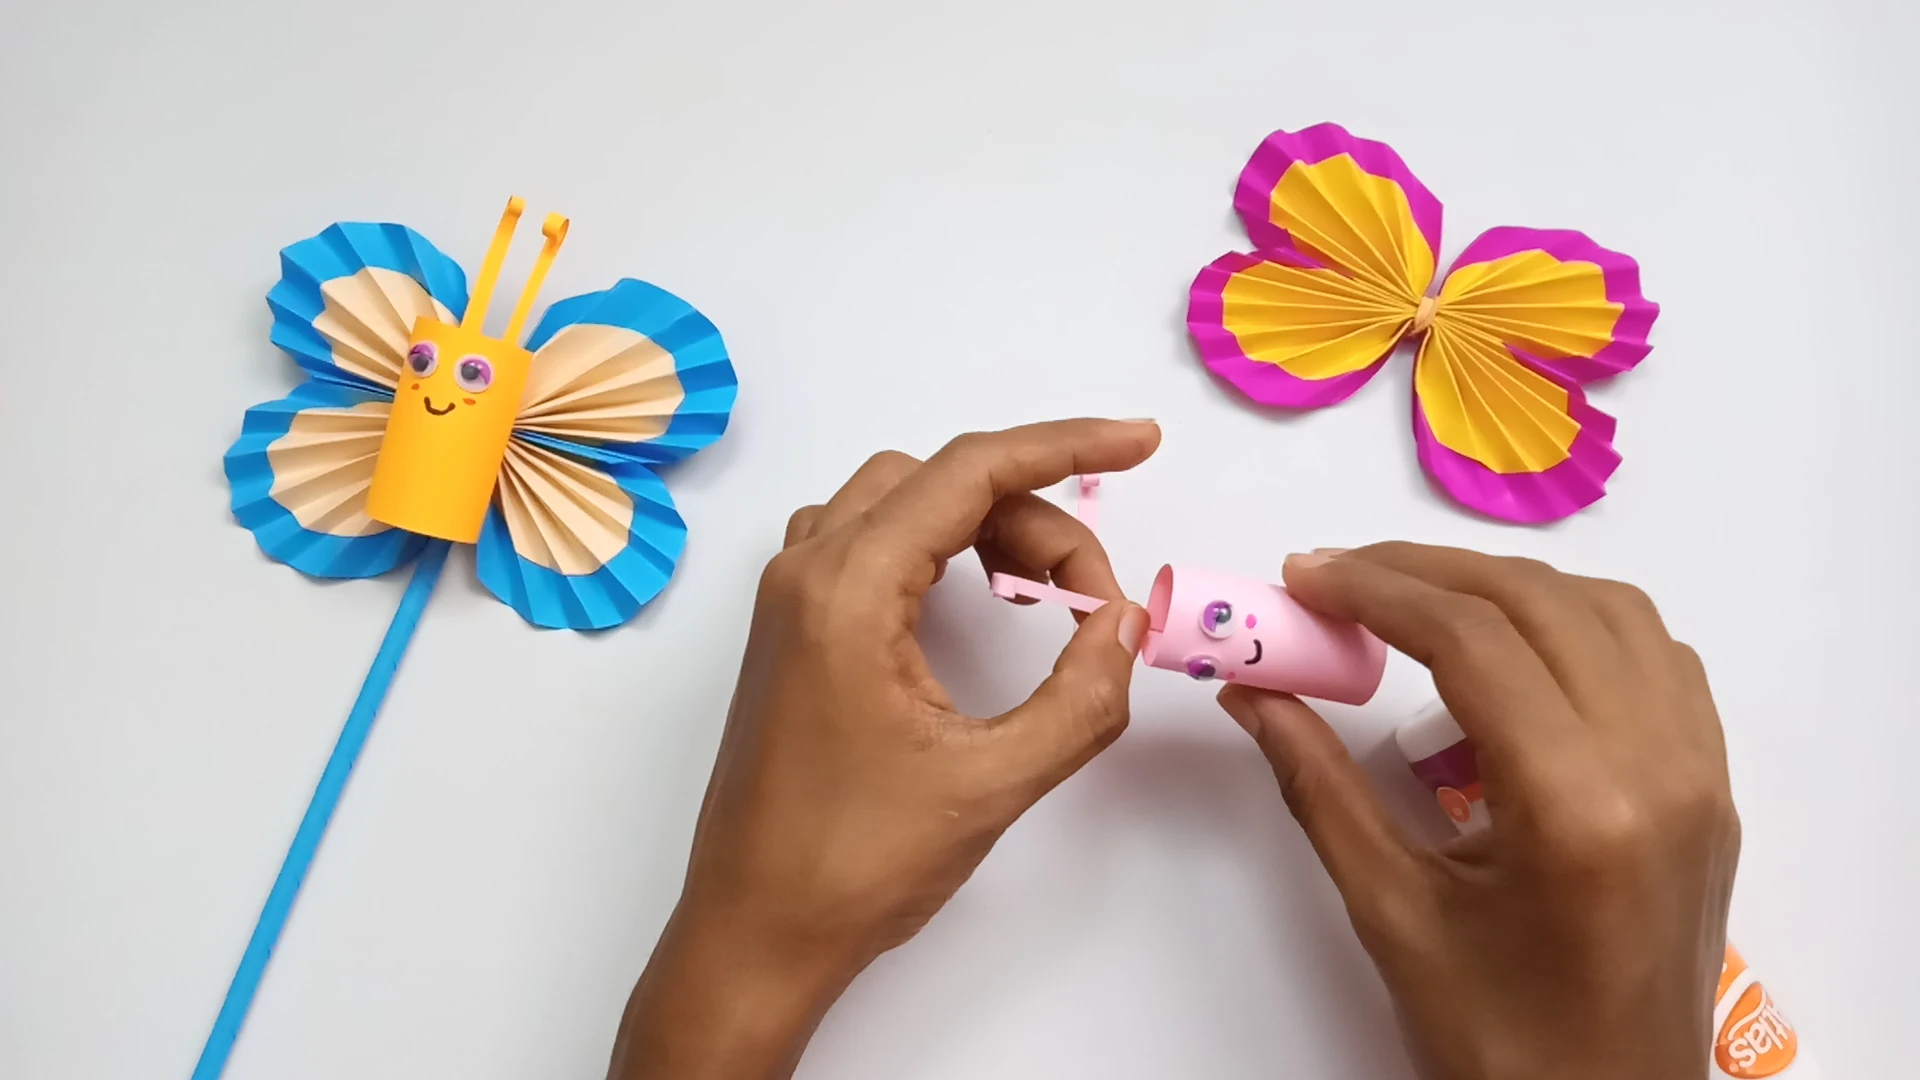
Put some glue on the rubber band in the center of your butterfly’s wings to attach the head and body to the wings.

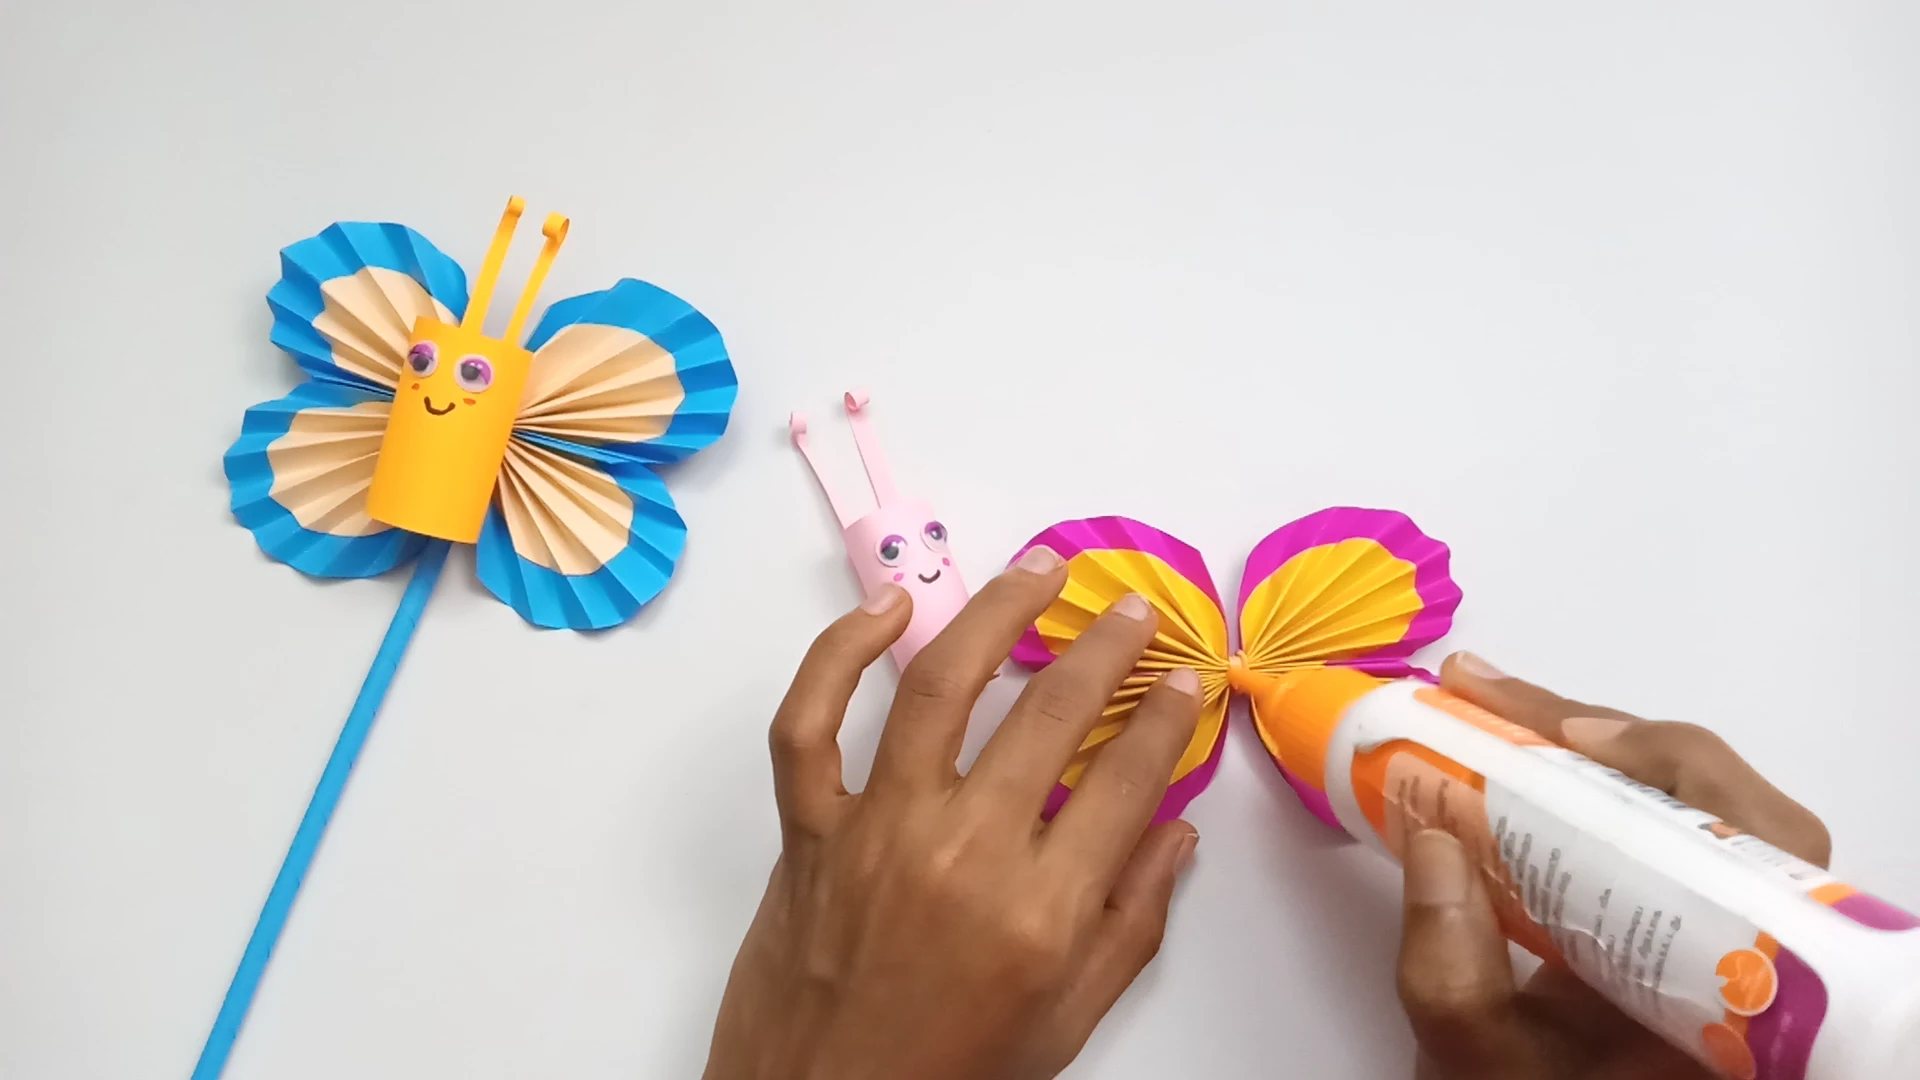
Glue the butterfly’s body onto its wings as shown above.

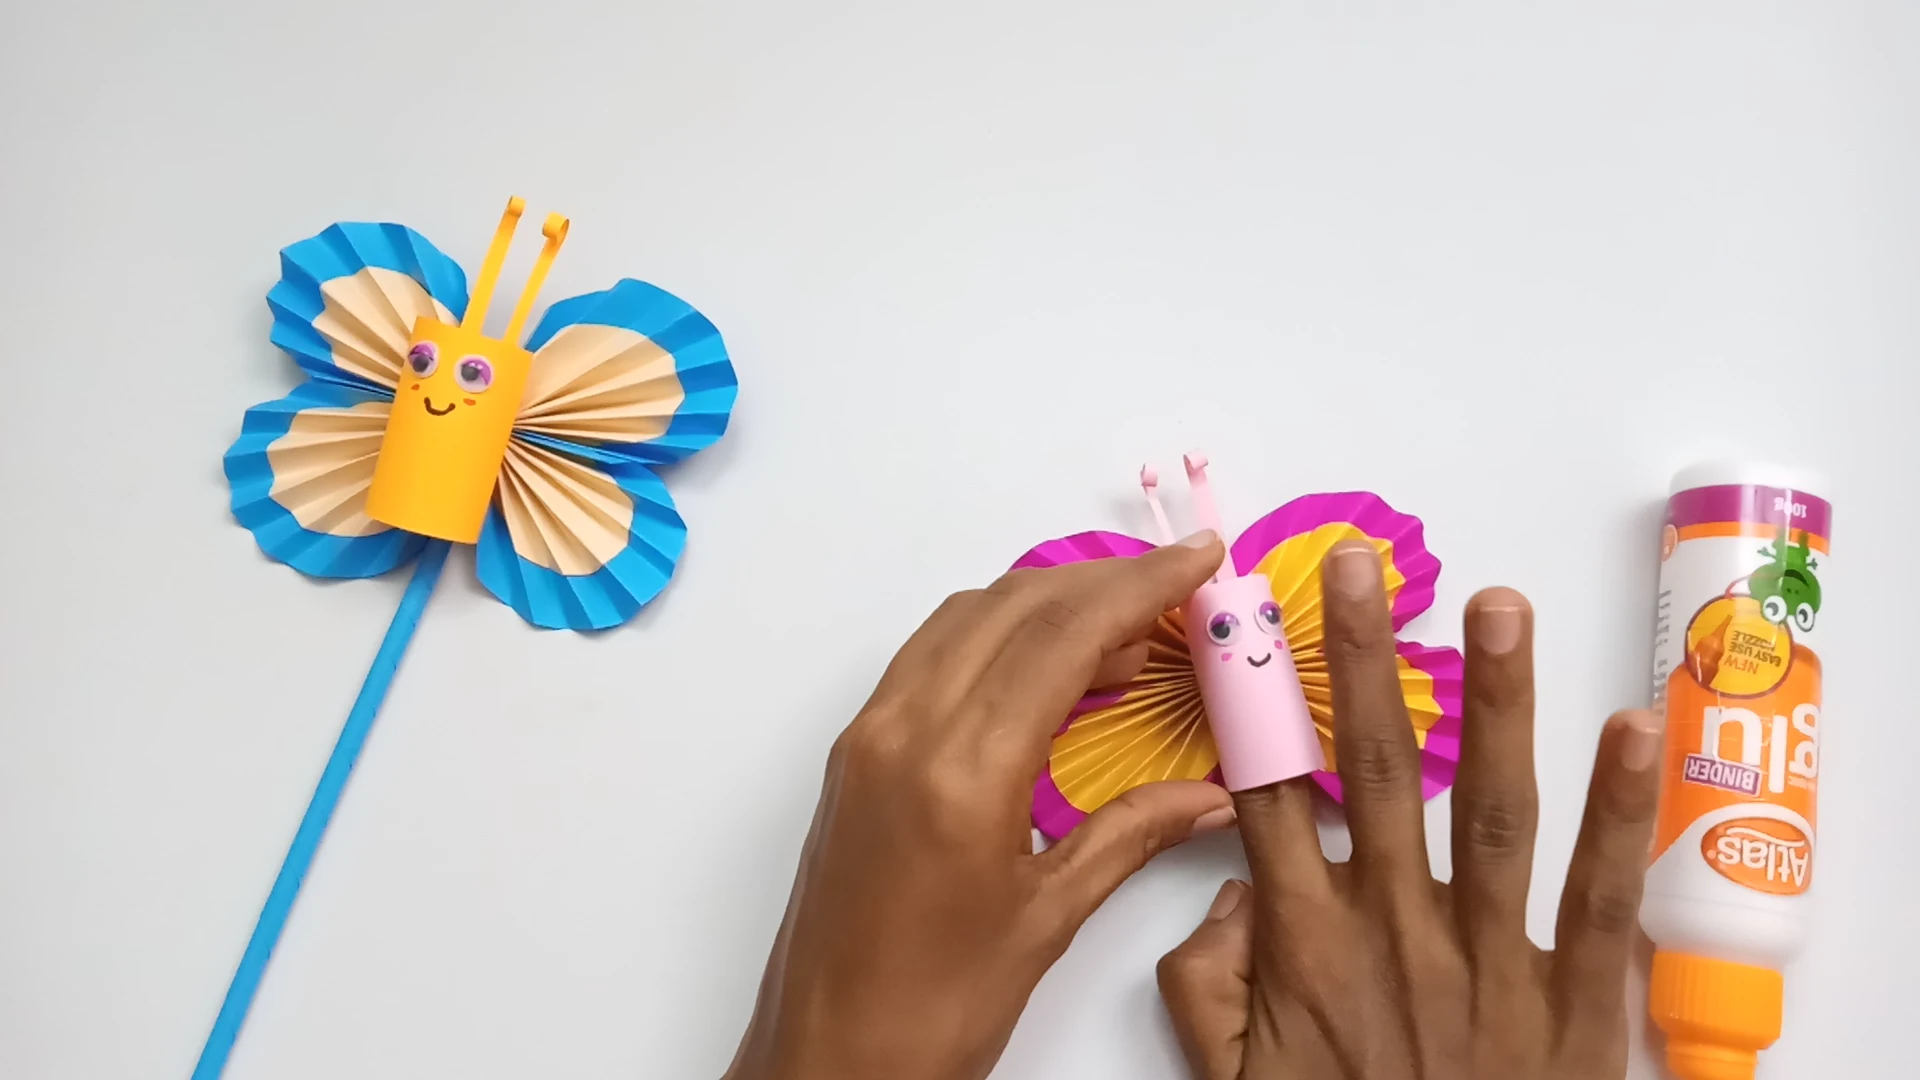
Use the darkest color of construction paper that you used as the main paper for your butterfly’s wings and cut a strip that is 20 centimeters long and six centimeters wide. Wrap the paper around a skinny, long object, such as a skinny straw, and start from the bottom corner, rolling it up inside the paper until you form a stick. Secure the paper with glue or tape

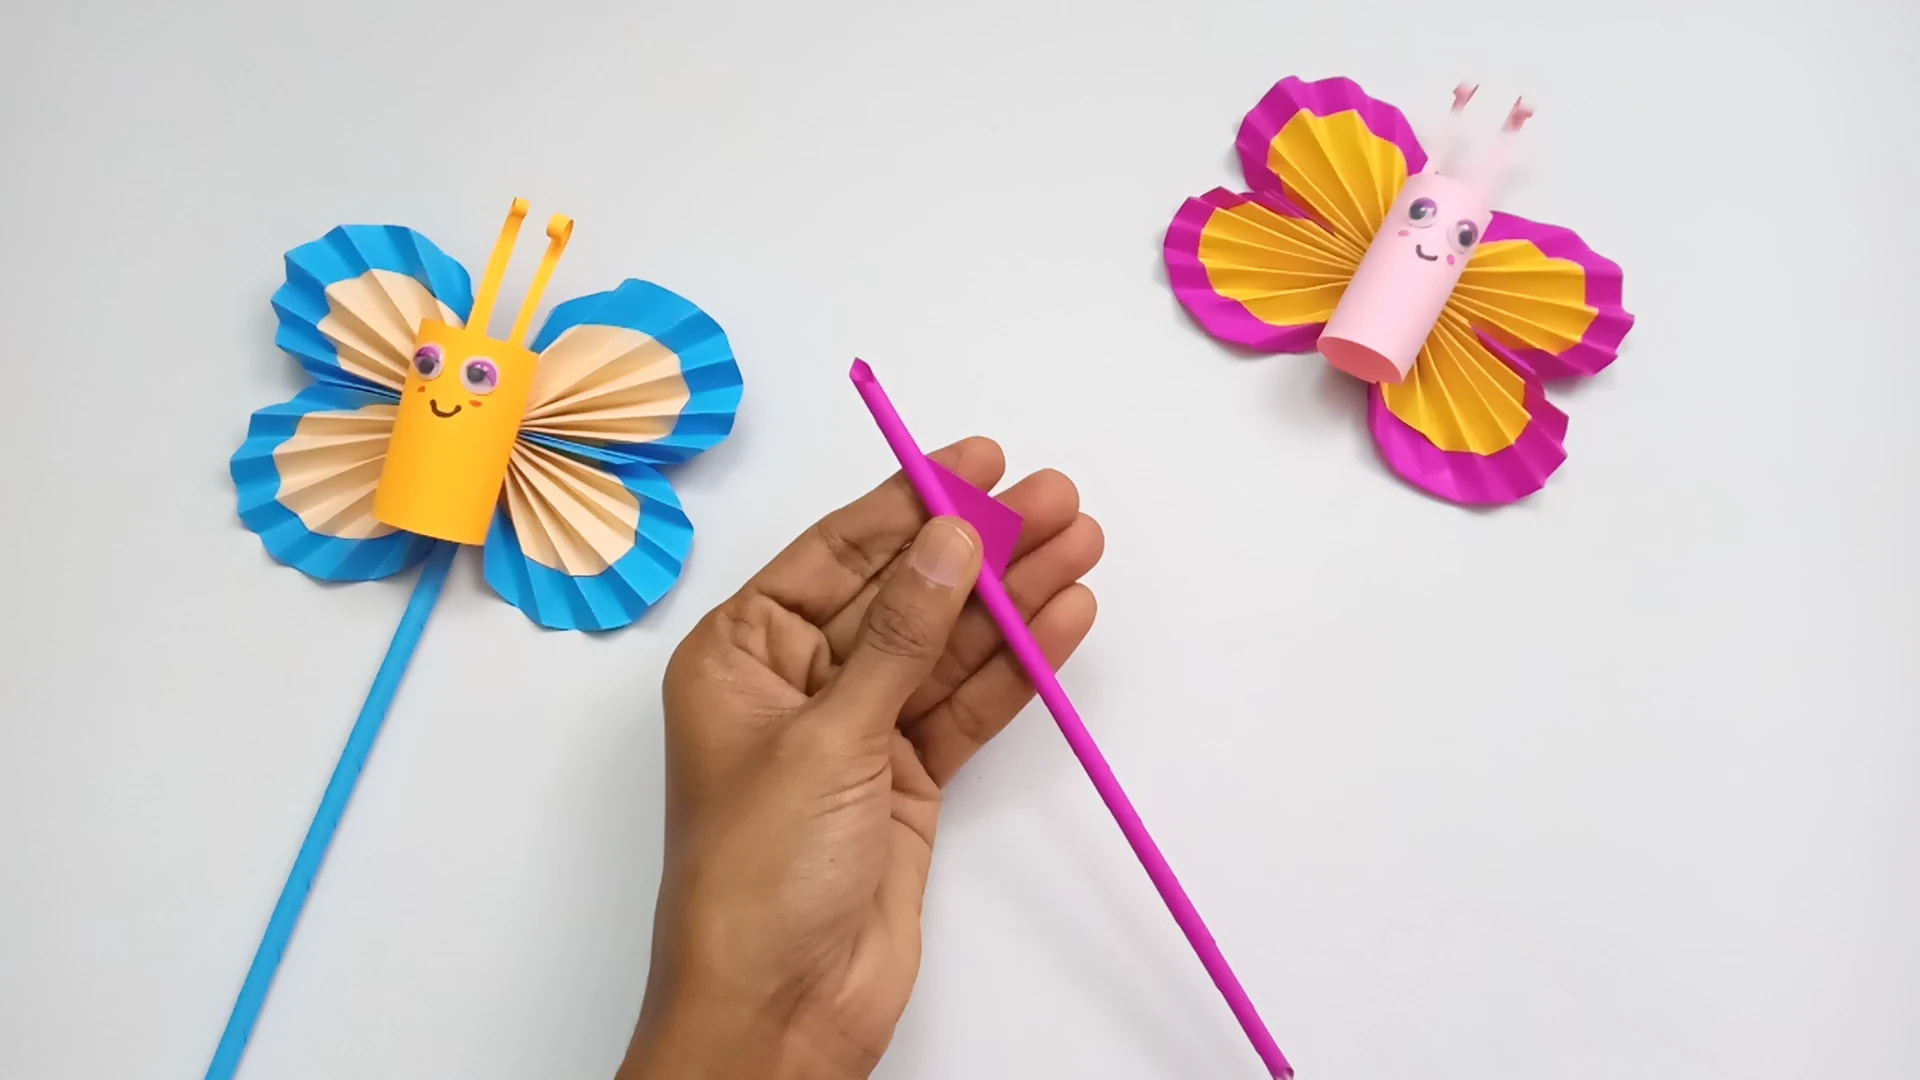
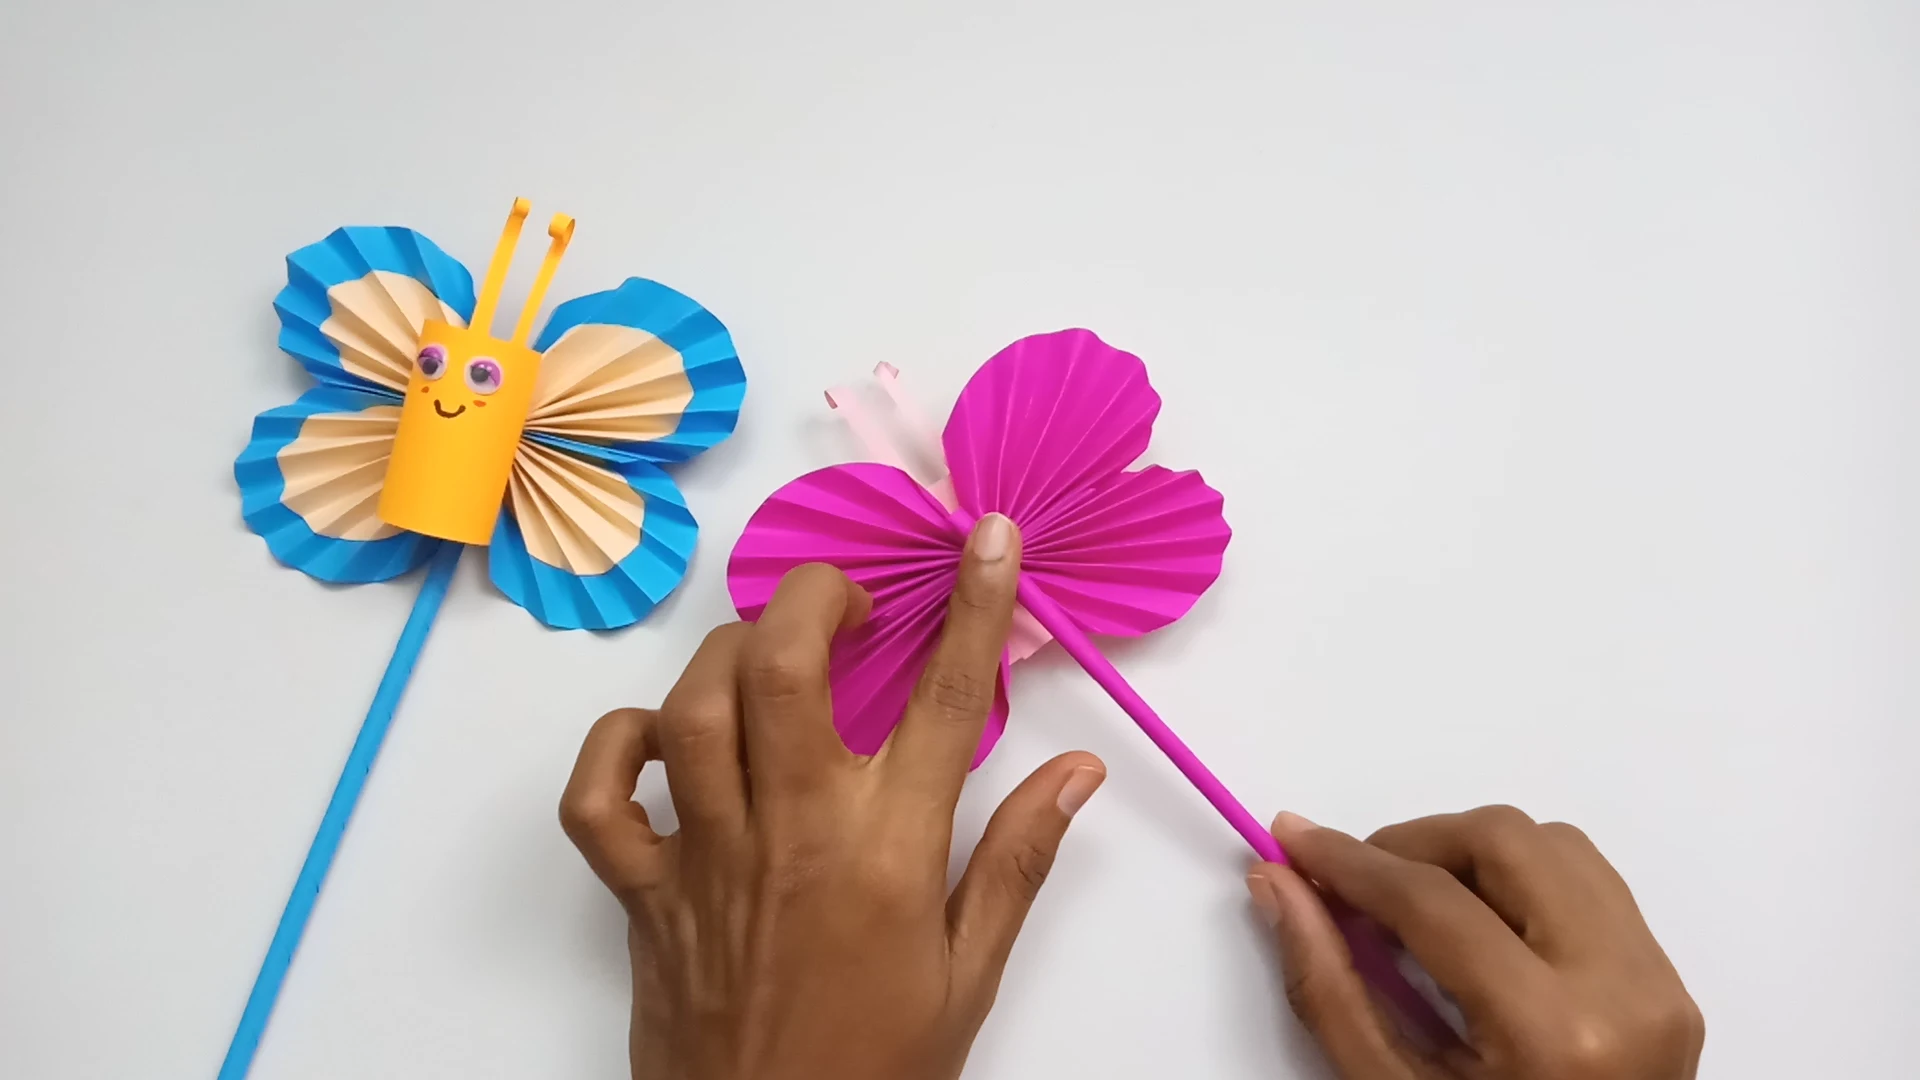
Glue the stick you created onto the backside of your butterfly’s body. You have now created a beautiful butterfly that you can use in a variety of ways, including sticking it a vase with some flowers in complementary colors.

Notes
We have provided you with each step of the process, along with photos to keep you on track, and there is a video that you can watch to make this butterfly super easy and exciting to complete. Follow along below.
How can you display the finished butterfly?
The 20 cm paper stick from step 15 lets the butterfly stand up. Step 16 suggests putting it in a vase with flowers in complementary colors.
Butterfly craft FAQ
How do you make a paper butterfly step by step?
Cut 4 construction paper circles, glue each small circle onto a large one, fold both sheets accordion style, pinch them together with a rubber band and open out the wings. Then add a rolled paper body, 2 antennae and a paper stick. The card above walks through all 16 steps with a photo for each.
What size circles do you need for this butterfly craft?
Two 14 cm circles in the darker color and two 12 cm circles in the lighter color. Each 12 cm circle is glued onto a 14 cm circle to make one layered sheet.
How do you make the butterfly antennae?
Cut 2 very thin strips from the same paper as the body, roll down one end of each strip, and glue them to the top of the head (steps 11 and 12).
How do you make the butterfly stick?
Cut a strip 20 cm long and 6 cm wide from the darkest wing color, roll it diagonally around a skinny straw starting from the bottom corner, and secure it with glue or tape. Step 16 glues it to the back of the body.