
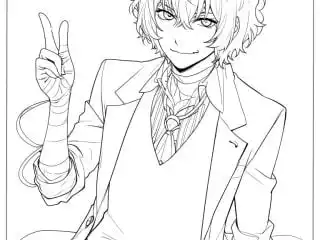
If you like cartoons from Japan or just want a fun creative activity, you have probably heard of the Armed Detective Agency. This article is all about our high-quality Bungou Stray Dogs coloring pages. We will talk about why these pictures are so cool, how to pick the best crayons or markers, and fun things …

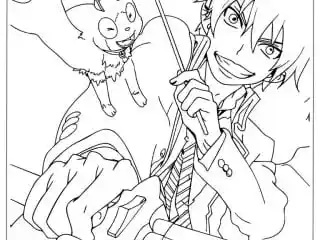
If you like Japanese cartoons or are just looking for fun children’s activity pages, you might want to learn about Rin Okumura and his friends. This article is all about our collection of Blue Exorcist coloring pages. We will talk about why these pictures are so cool, how to pick the best crayons or markers, …

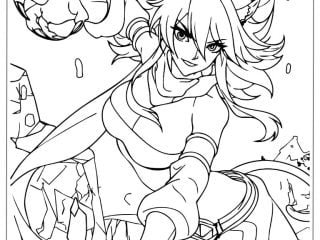
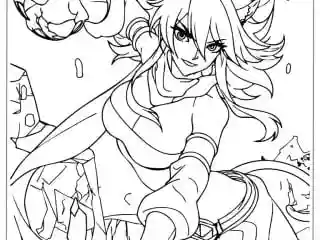
If you like cartoons from Japan or just want some fun kids activity sheets, you have probably heard of Subaru and his magical adventures. This article is all about high-quality Re:Zero coloring pages. We will talk about why these pictures are so cool, how to pick the best crayons or markers, and fun things you …
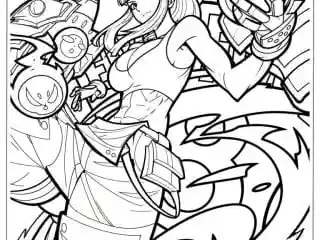
If you enjoy the exciting show Akame ga Kill! or want fun coloring activities for teens, you are in the right place. This article is about our collection of free Akame Ga Kill coloring pages. We will talk about why these pages are good for art practice, how to color the detailed manga characters, and …

If you like anime and manga, or if you are looking for a new hobby, you should check out Mob Psycho 100 Coloring Pages. This show is not a normal hero story. It is funny, weird, and looks amazing. This article is all about these cool coloring pages. We will talk about why this series …

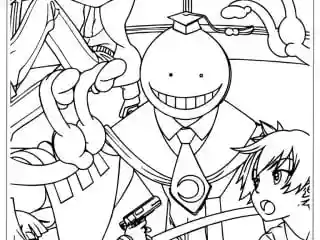
It doesn’t matter if you love Assassination Classroom or if you want fun coloring activities for kids. These Anime pages are a great choice. The story teaches us to work hard, listen to our teachers, and help our friends. In this guide, I want to share some simple advice on how to use these Assassination …

Do you love heroes who fight with amazing fire? Do you like fast action and cool characters? Do you enjoy stories with big feelings and exciting fights? Then you probably know the awesome world of Fire Force! It’s a cartoon show where a special fire brigade fights scary fire monsters. If you want something fun …
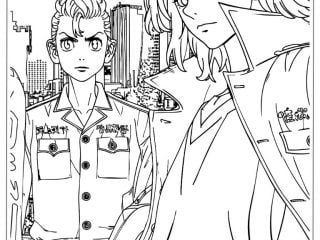

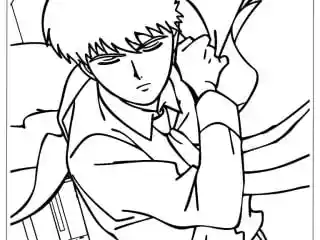
If you are a fan of the hit series featuring Takemichi and the Toman gang, Tokyo Revengers coloring pages are the perfect solution. In this article, we will explore why this series is perfect for art lovers, how to tackle the unique style, and practical ways to use these pages for fun. So, get ready …

A Silent Voice coloring pages are not like regular cartoon pictures. They come from a story about real feelings and real life. Maybe you love the movie or comic book, or you just want a special way to spend time. These pages are a great choice, you don’t need fancy art stuff or to be …

If you enjoy anime or unique adventures, Dr. Stone coloring pages are a great mix of science, art, and fun. It is a hit anime featuring science, fantasy adventure, and a fascinating post-apocalyptic setting known as the Stone World. In this article, there are different types of pages available, from complex fantasy landscapes to simple …