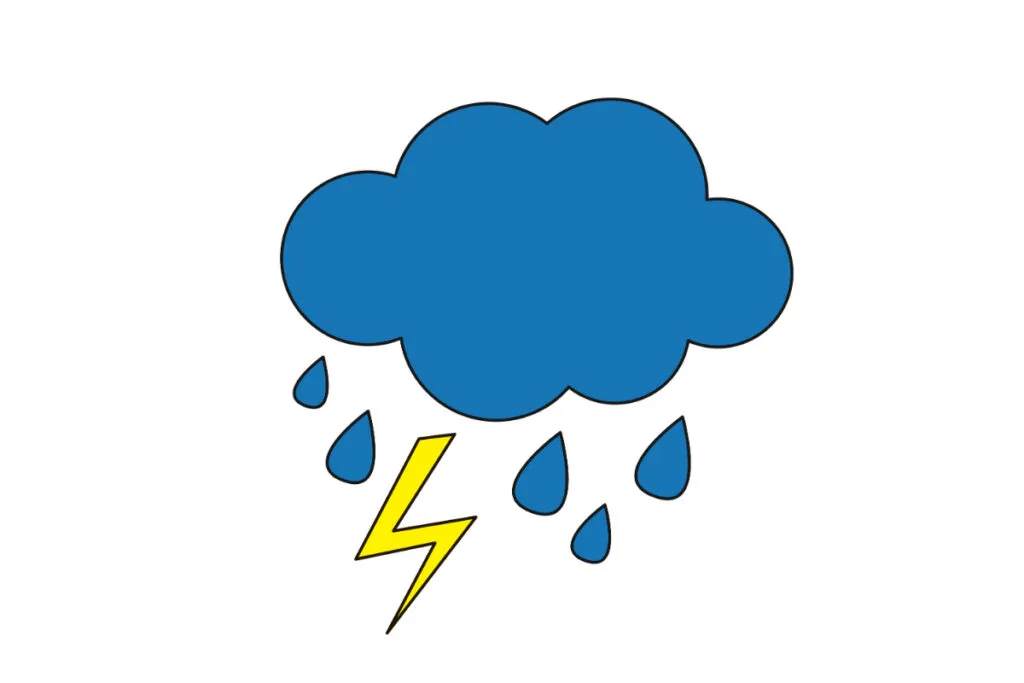
A short recap of the water cycle before it turns into rain, the water cycle is the movement of water between the air and the soil. In more technical terms, the water cycle is the ongoing process of water evaporating and condensing on planet earth. This process has been ongoing for millions of years, and life on earth would not exist without it.
Here are some steps of the water cycle:
Evaporation is the process of water turning from a gas into a liquid. Have you noticed that after spilling a glass of water outside a few hours later the water is gone! That is because the water slowly turns from a liquid into a gas called water vapor. Water vapor rises up in the sky due to the sun’s heat. Once the water vapor rises high enough it condenses into water droplets.
Condensation is a process of water turning from a gas into a liquid. When water droplets get heavy enough, they fall back down to earth as rain.
We call the last process precipitation because it can happen in a few different ways: rain, snow, and hail. Precipitation brings the water back down to earth and the cycle repeats.
You already know the water cycle before it turns into rain—your turn to draw the rain by following the step-by-step below.
How to Draw a Rain

Materials
- Paper
- Pencil
- Coloring Materials
Instructions
Step 1: Draw the Foundation

For the foundation of your clouds, we will be using a basic shape, a circle. Draw a perfect circle in the middle of your paper. You can use a coin for tracing a perfect circle. Note: The circle should be a medium size because later on, you’ll more of that.
Step 2: Add more circles

Now, we will add more five circles to form the clouds. Surround the first circle with the five more circles. Again, you can use a coin to trace a perfect circle for your clouds. This circle will overlap with another circle to stay connected.
Step 3: Remove Extra Lines

In this step, we will just simply erase lines that are not important to your drawing. Now, Erase all the lines inside the curve line, not the border. After that, you’ll see that your drawing turns into a cloud.
Step 4: Add Thunder

Now, that we already formed the clouds, let’s work on the thunder. Draw a zigzag line under the clouds. Then, after that add another zigzag line beside it then enclose both top and bottom with a short horizontal line.
Step 5: Draw Teardrop

After the thunder, the next thing that you need to do is to add teardrops to your drawing. This teardrop must be drawn under the cloud. Draw teardrop as many as you want but make sure that you’re drawing still good to look at.
Step 6: Finish up!

Congratulations kiddo! You made it. I’m sure mommy and daddy are very for you happy. In this step, color your drawing according to the color that you observed when it is raining. With that, you bring your drawing into a real one.
Coloring Pages
Free delivery, award-winning TV, exclusive deals, and more.
Free 30 days Trial.


